How to Activate Launch X431 Pro5 Online Programming?
If cannot find BMW and Benz online programming menu in Launch X431 Pro5 scanner, you have to configure and activate online programming menu manually.
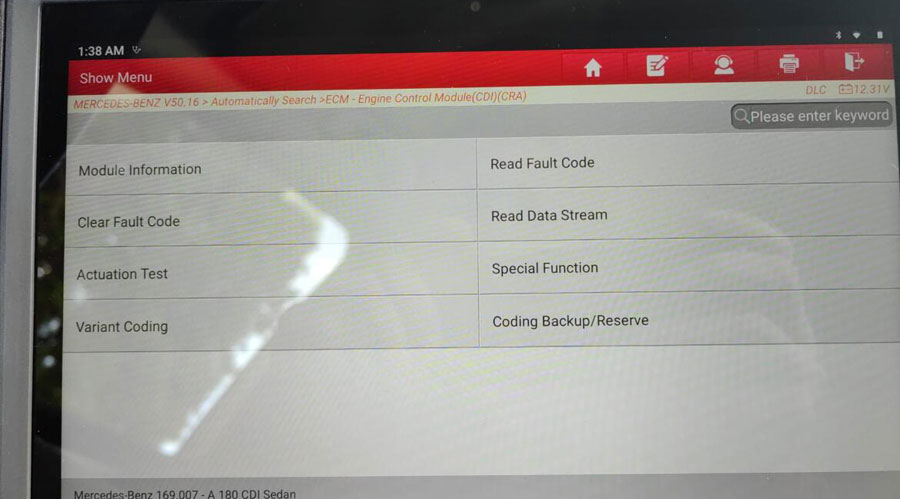
Proceed as follows:
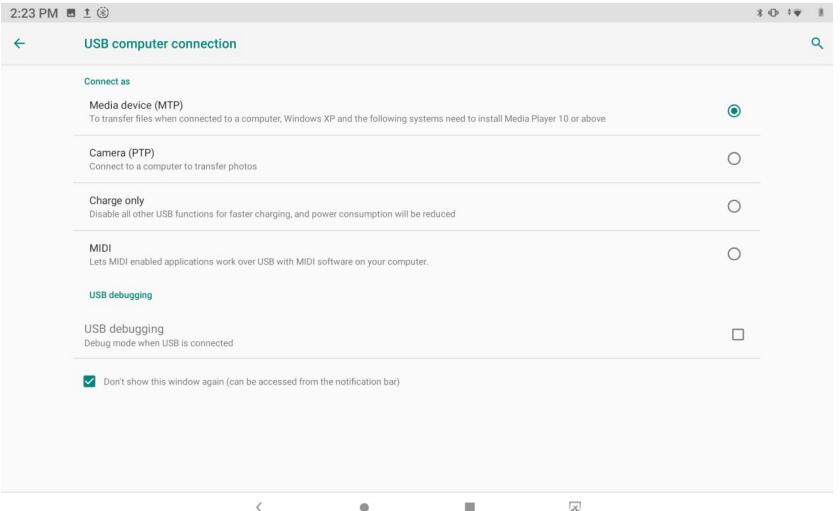
1. Connect the PC to the PRO5 Diagnostic Scanner via USB cable and set up the USB computer connection on the scanner as shown in the picture below:
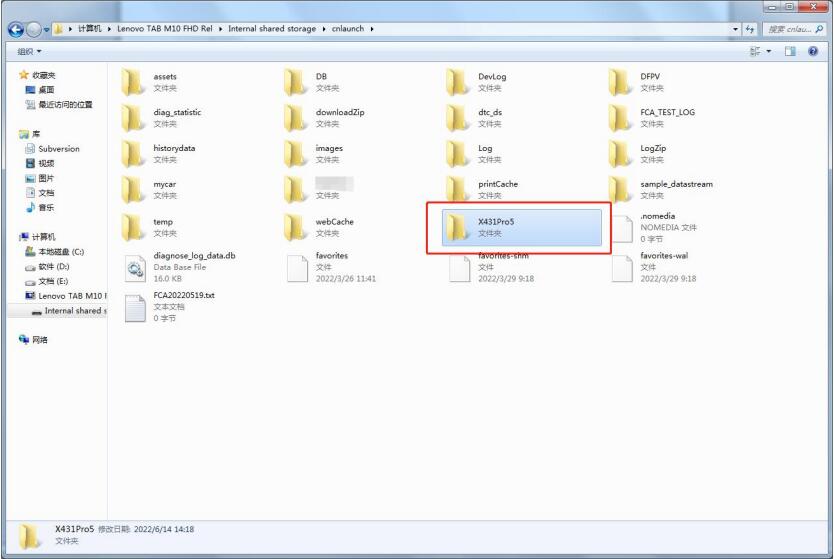
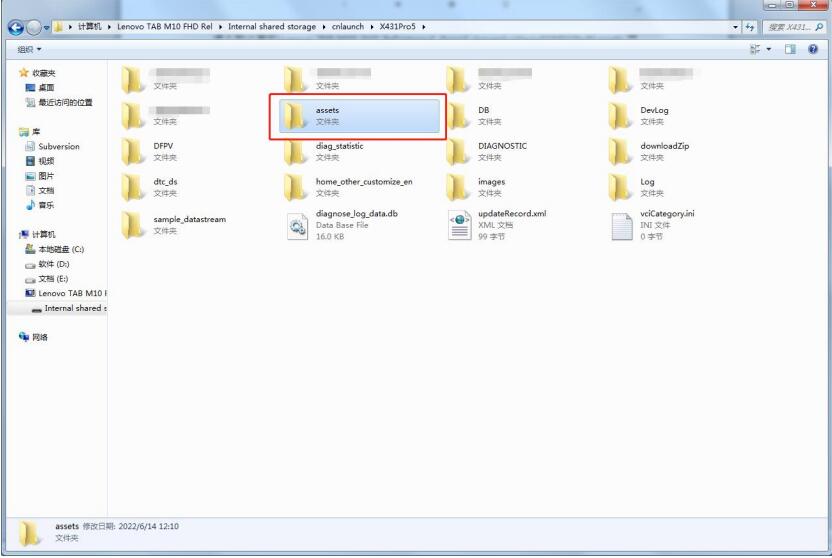
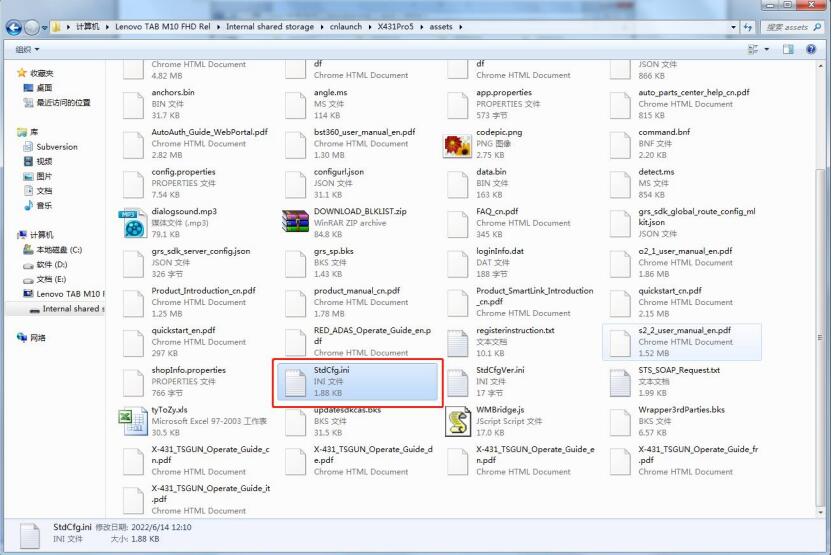
2. Click the ‘my computer’ icon, and find the file named StdCfg.ini via the following path: Lenovo TAB M10 FHD Rel\Internal shared storage\cnlaunch\X431Pro5\assets
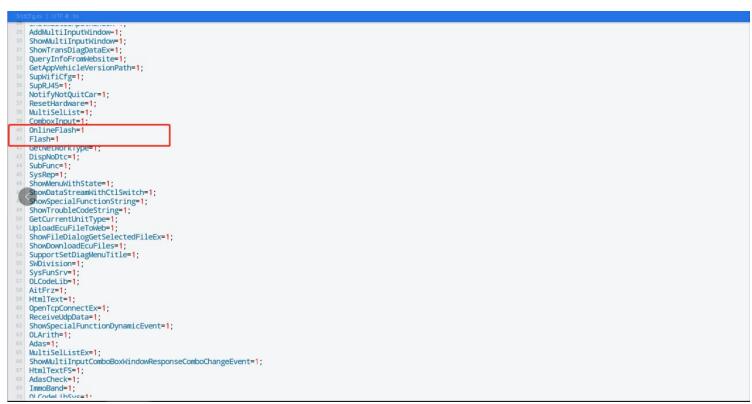
3. Open and edit StdCfg.ini via the text editor. Find the OnlineFlash and Flash fields. The default value of 0 means the diagnostic software does not support online programming. Click the twotochange both the value from 0 to 1. After successful saving, the values will change to 1, as shown in the box below, and the diagnostic software can support online programming functions at that time.
Note: The online programming menu would not display on the home page. Enter the appropriate diagnostic software to get the online programming option.