OBDSTAR iScan Ducati Scanner Setup Review
OBDSTAR iscan Ducati diagnostic tool in an affordable option for service reset, reading out and resetting errors and a few other functions.
Unboxing:
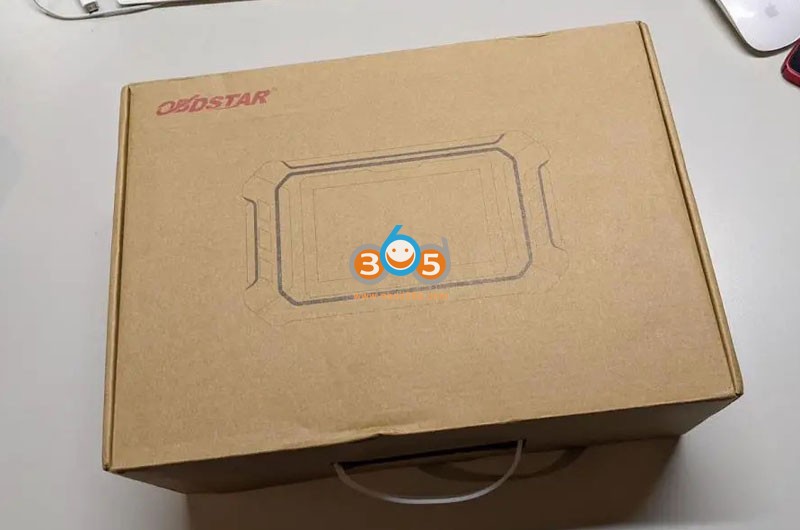
Supplied in a practical box
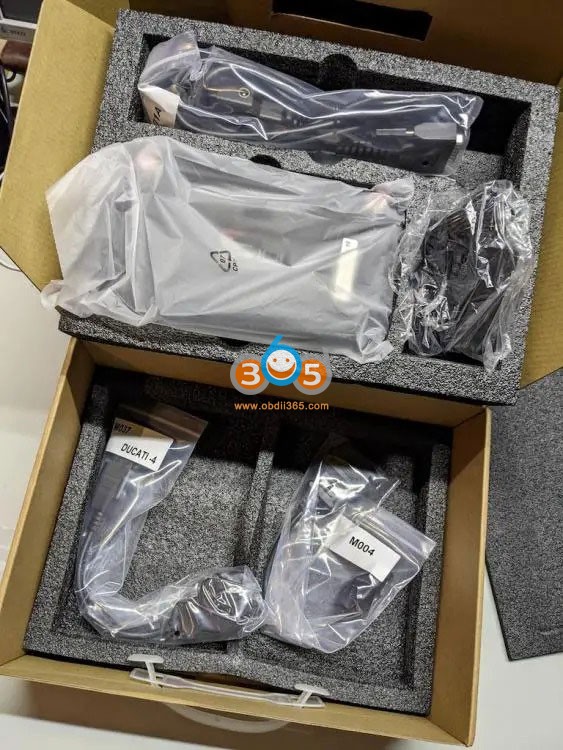
Content with all necessary adapters
A 3pin and 4pin adapter (Euro 4) is included in delivery.
the Euro 5 connector is different, need to be purchased separately.
Setup:
Its an Android OS pretty easy to navigate. When you first power on the device you need to connect it to your Wi-Fi.
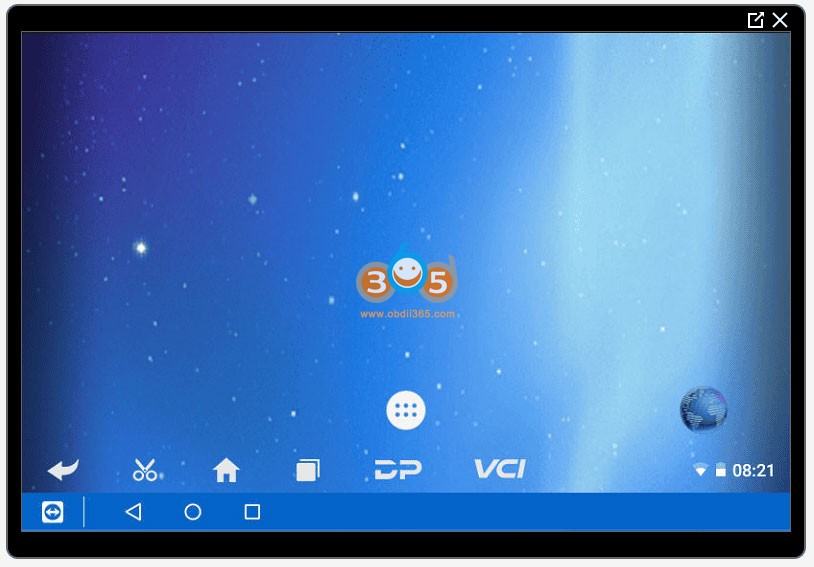
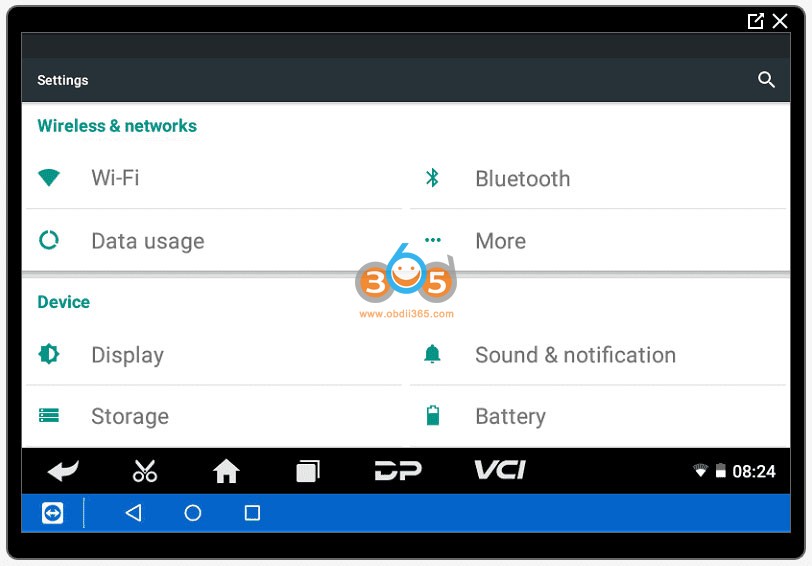
Click the home icon then the one with the 6 dots.
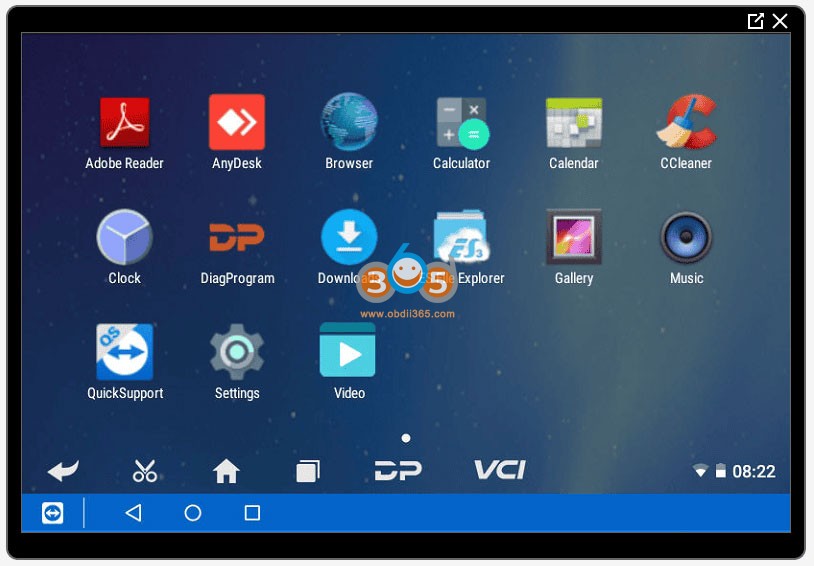
From here you can see what’s on the device. QuickSupport gives you access to TeamViewer so you can remotely use the device.
For Wi-Fi, click settings.
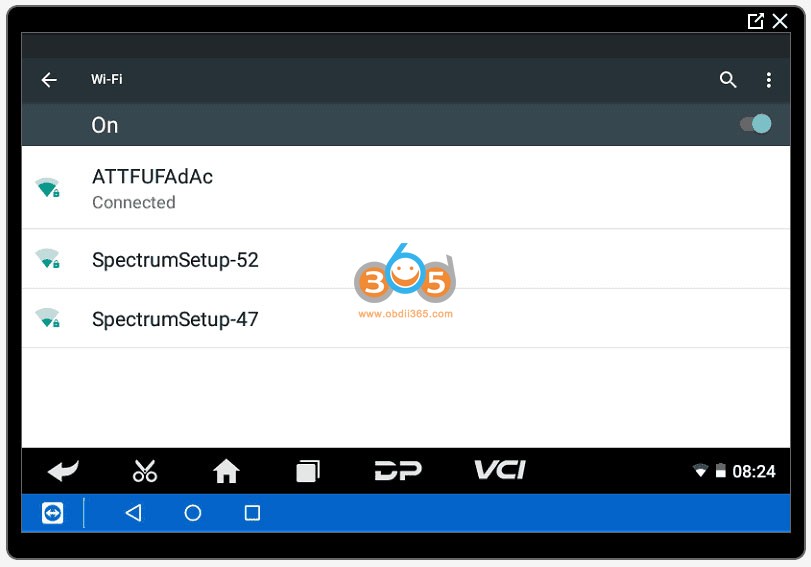
Pick your network then enter your password. Easy enough. Now onto registering the device. As it turns out the device was attempting to send the login details of the account if you were attempting to create unencrypted. This caused the Wi-Fi router to block it. Once you realize what is going on, you allow it on your routers app and all is good. To get started with account creation, click Personal Center.
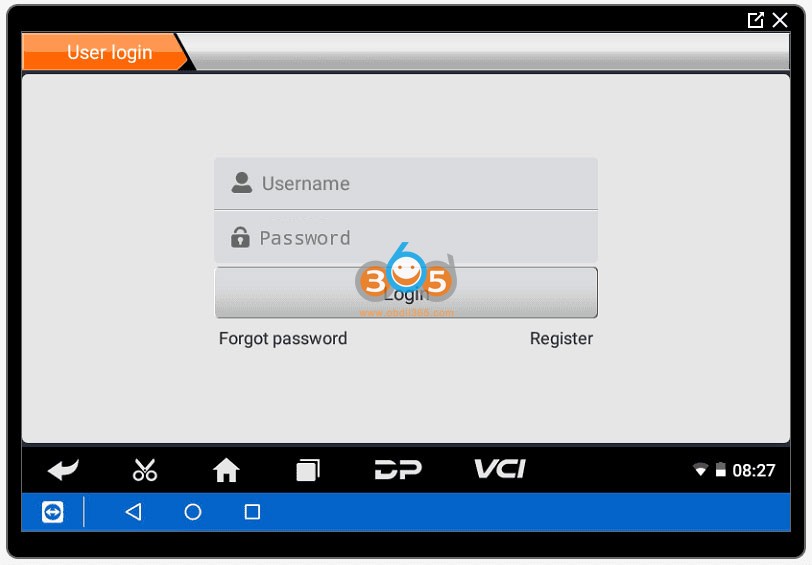
Here you click Register and enter a username, password and email address. The next screen will prompt you for name, company and address. Then send this unencrypted info off to places unknown. On that note, don’t reuse a username or password. You could even go as far as to create a spoof email if you’re that into internet security. After your account is created you’ll land on this page.

There is an expiration date. You can check when you free software will expire.
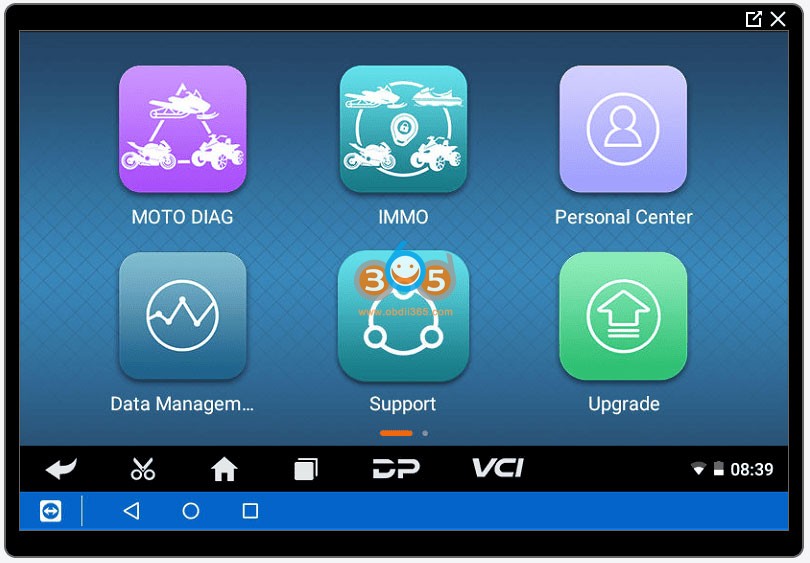
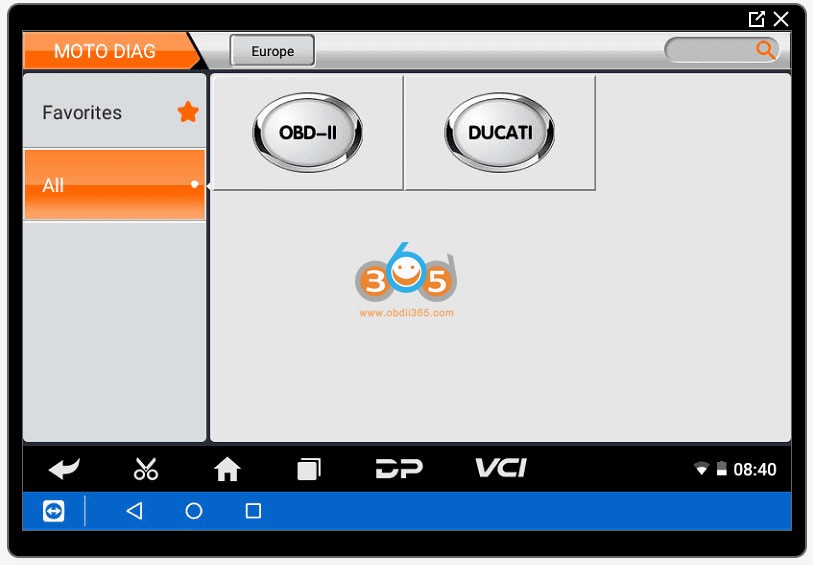
Click the DP on the bar. If you go into MOTO DIAG all that will show up initially is OBD-II which is the same OBD-II and code reader can pull. You have to update the software to get the Ducati specific functions.
Click Upgrade and follow the prompts. Its pretty basic. There’s a few files but they are small and it goes relatively fast.
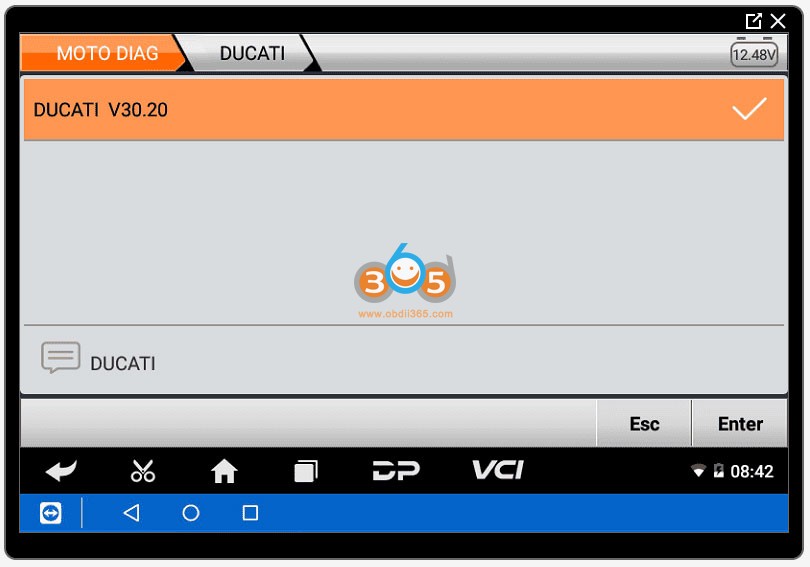
Now when you click MOTO DIAG you have a Ducati icon. Plug the device into your bike diagnostic port using the OBD-II cable and the appropriate adapter. It comes with a 3-pin and a 4-pin. If you have a newer bike, 2021+ you likely have a red 6-pin connector under the seat. You will need to buy a OBD-II to Euro 5 adapter.
Click on the Ducati icon and on the next screen click enter in the lower right corner.
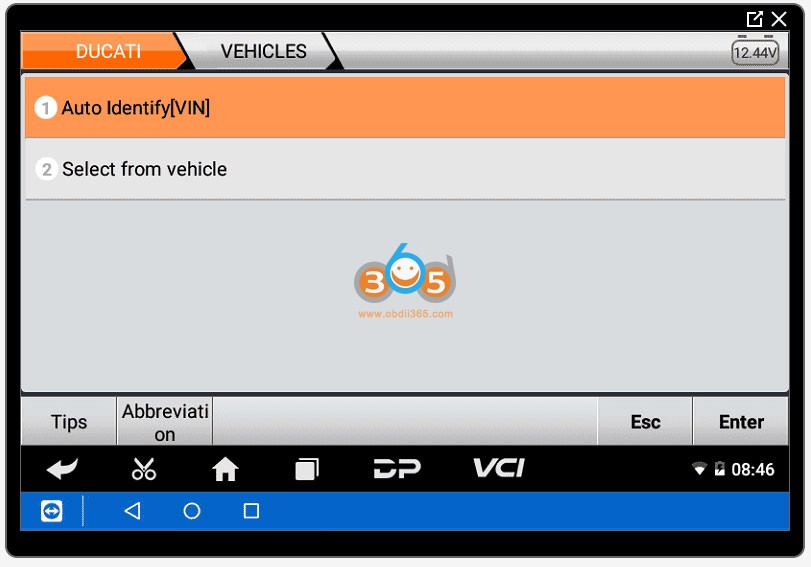
Auto Identify VIN is self explanatory but make sure your VIN is detected correctly.
You can also select by vehicle. Then choose the model and function you desired.