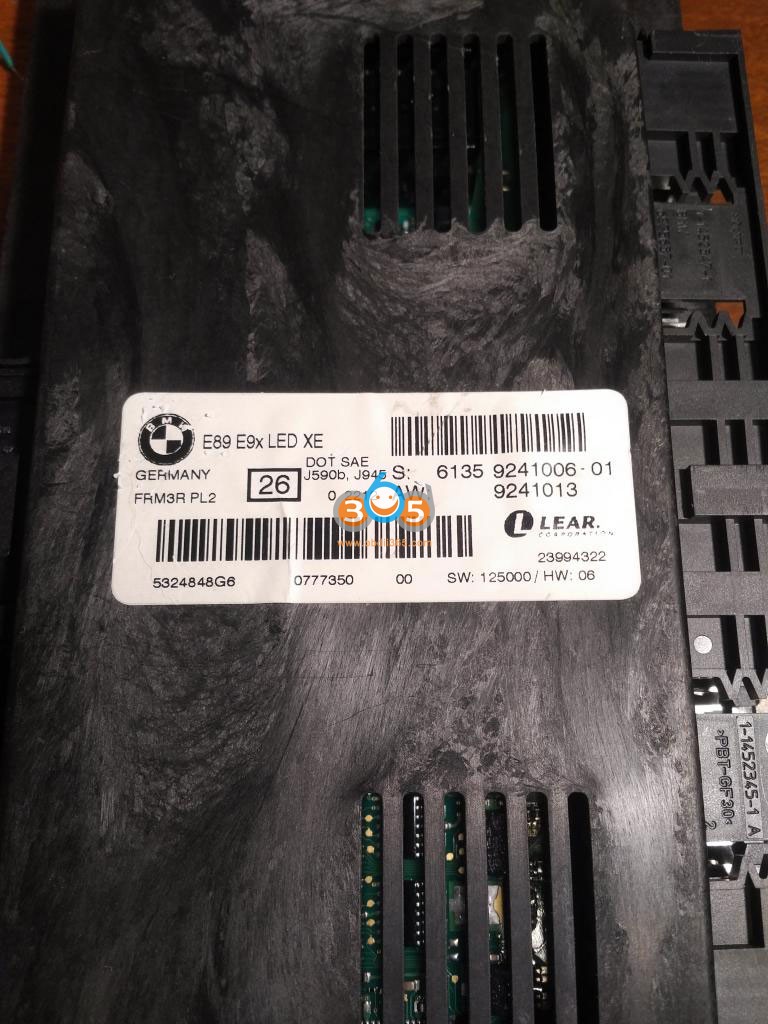
How to Repair BMW FRM3 with Xprog Step by Step?
The best way to repair FRM module seems to be reading dFlash memory. When you try to read it, the programmer tells you the partition is correct and then you choose the size of EEPROM of 0 sectors - then you read full dflash. You can download the dflash to eee convertor, convert the data and write back as eee.
How to Repair BMW FRM3 with Xprog clone Step by Step?
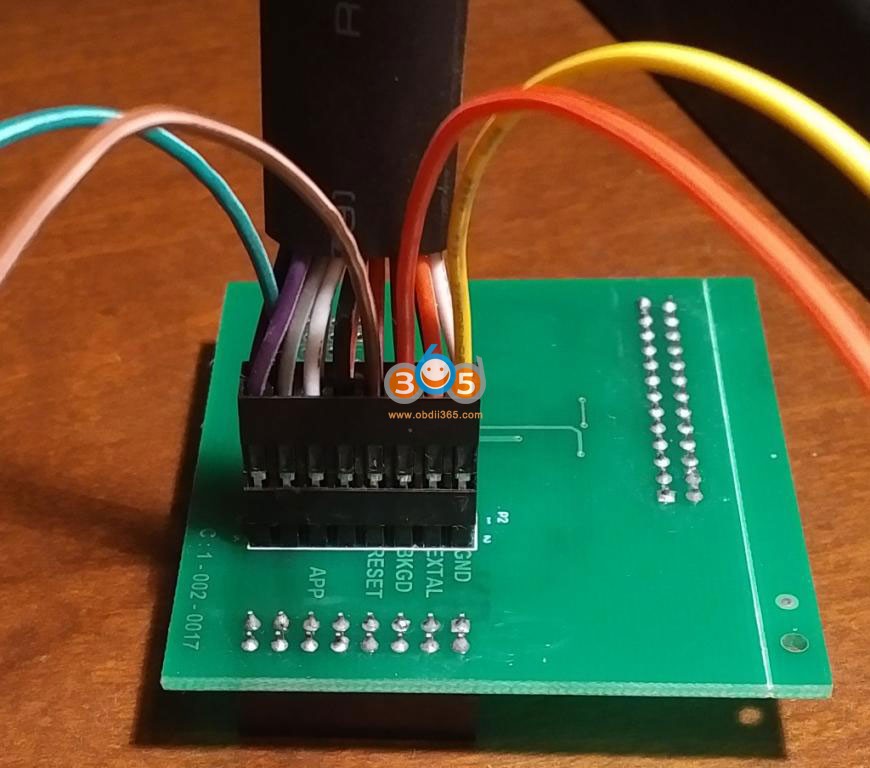
1. Prep the solder points. They are large test points that take rosin-core solder quite readily - Nice and easy to solder.
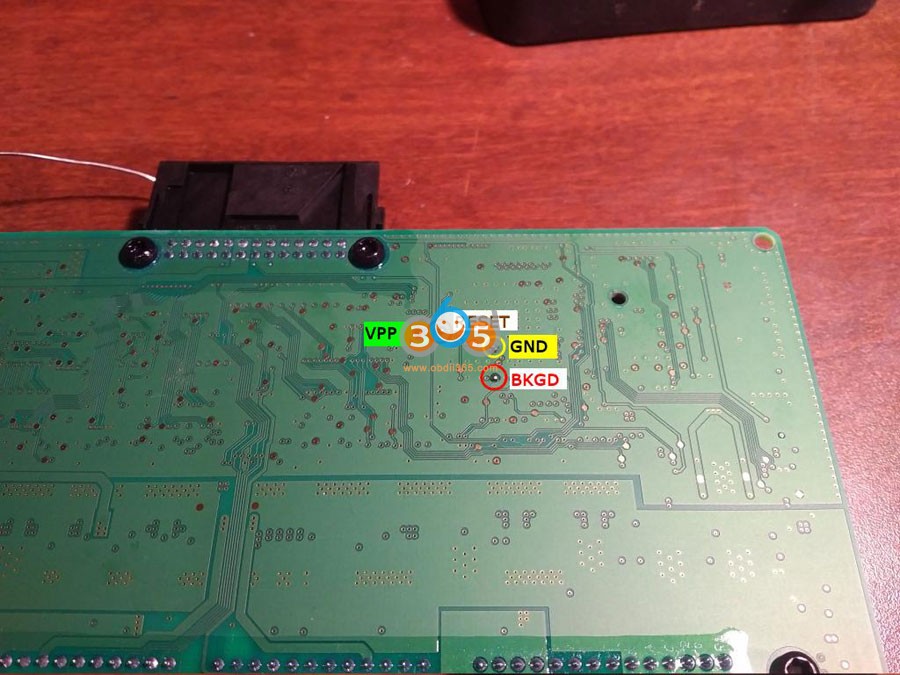
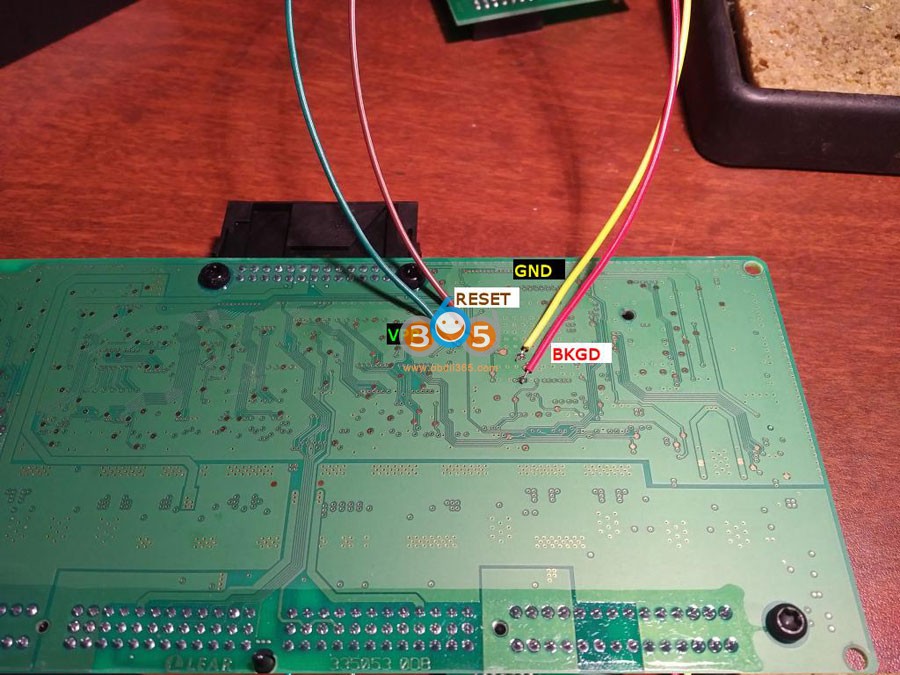
2. Solder the wires to the test points. Your colours may vary if you received a different wiring harness with your XProg.
3. You don't need to use the daughterboard, but I figured it wouldn't hurt. Here are the labels from the HC(S)12 adapter board:
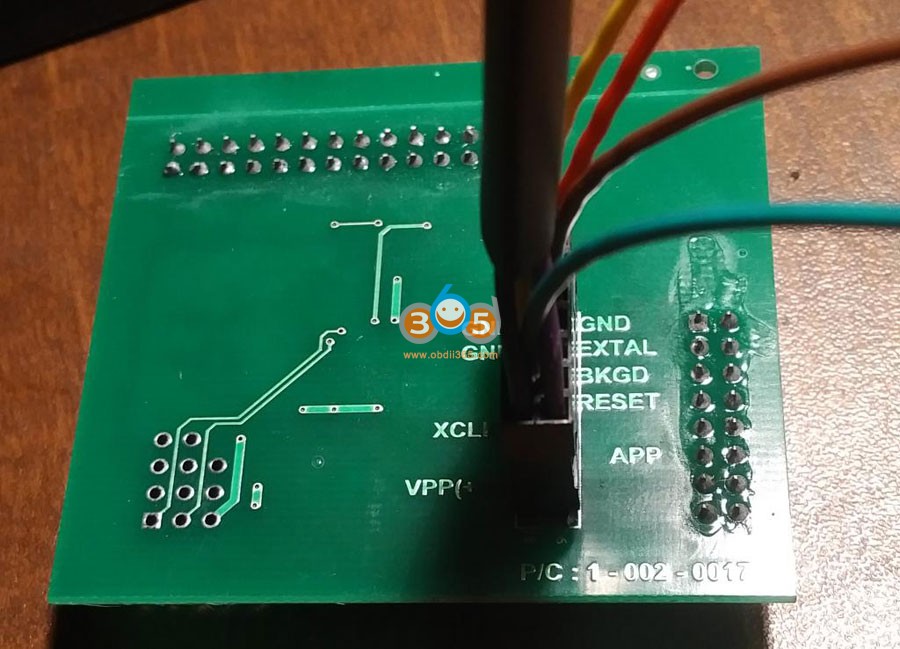
4. Wire colours, if you have a matching harness:
So the soldering is done, now its time for the programming.
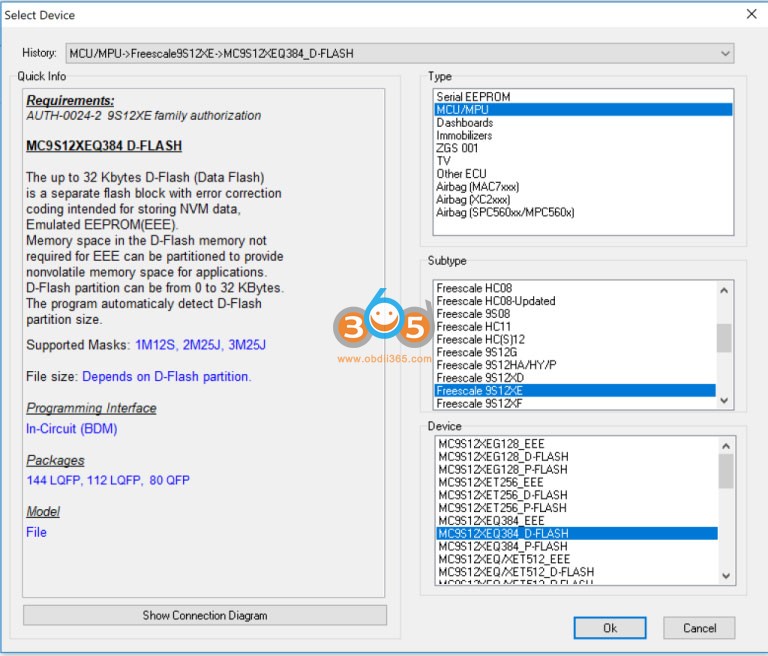
5. Open XProg and select: "MCU/MPU" -> "Freescale 9S12XE" -> "MC9S12XEQ384_D-FLASH"
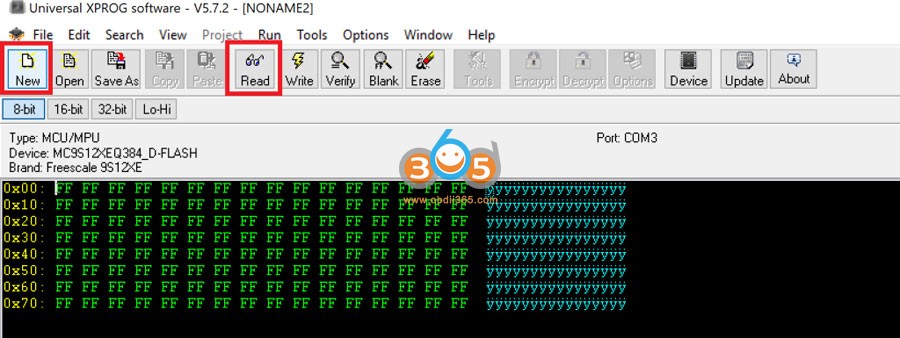
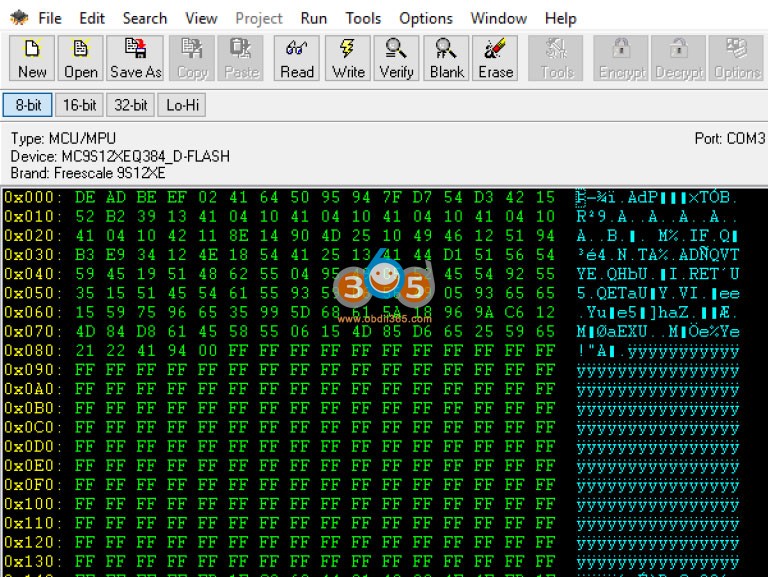
6. Open a new hex file to download the D-FLASH.
a. Click "New"
b. Click "Read"
c. At this point XProg will connect, check certificates, then set up BDM. It will probably tell you the flash is corrupted, you need to select 0k of EEPROM and 32k of FLASH (This is the default).
7. Once the download is complete, save the D-FLASH. Open the D-FLASH using tomvleeuwen's app or webpage - http://tlvps.tomvanleeuwen.nl/frm/ . If you use the app it will ask you to open the D-FLASH you just saved, then ask you where you want to store the new EEPROM (I used the app, as my computer needed to be offline to use XProg)
8. Open the newly created EEPROM file in XProg
9. Change the device to: "MCU/MPU" -> "Freescale 9S12XE" -> "MC9S12XEQ384_EEE"
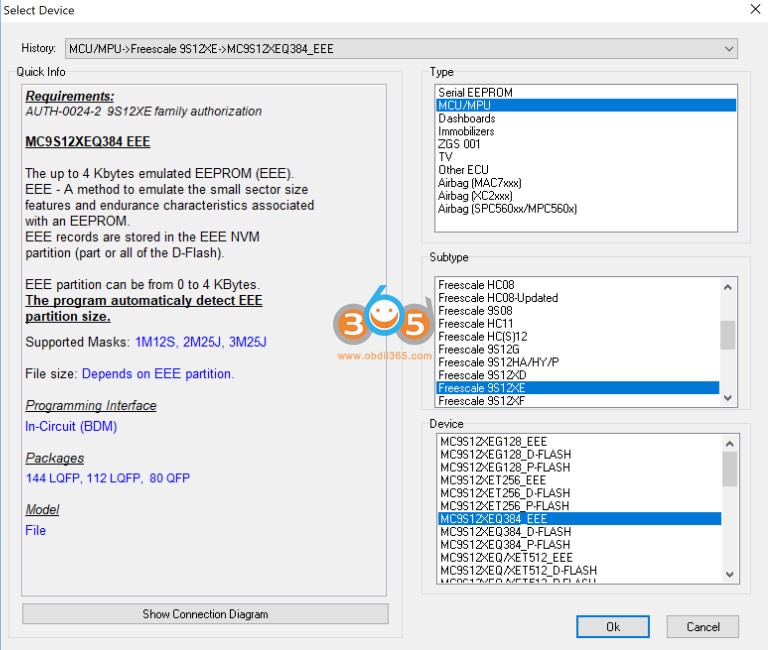
10. Write the new EEPROM to the FRM3
a. Click "Erase". Yes I am sure. Yes the flash is corrupted - Fix it.
b. Click "Write"
c. Click "Verify".
d. Run the "Erase" / "Write" / "Verify" three times to get it to verify correctly.

DO NOT PANIC - If you read the D-FLASH again, it will come back empty (0x0). This is normal and desired behaviour.
Reinstall into the car, and everything should work the way you want!
Seriously took about 5 minutes to read the D-Flash, generate the EEProm, and write it back once the solder points were connected. When you plug the module back into the car, it worked perfectly.