


Autel Tesla Diagnostic Adapter Cables for S/X Models Works with MaxiSys MS909 MS919 Ultra
TOOLS in EU TAX FREE
TOOLS in US TAX FREE
We are here to provide you with a Better Price:
Email: Sales@OBDII365.com
Whatsapp:+86 18150118226
Related Download Files
Product Description
- Compatible with 3rd generation Autel MaxiSYS tablets MS909 MS919 Ultra
- Diagnostics cable kit for Tesla S and X model vehicles compatible with MaxiSYS tablets
Diagnostic cables for Tesla S and X vehicle models, enables Autel MaxiSYS 909, 919, or 908SPro, Elite, Elite II, and MS Ultra tablets to connect with Tesla S and X vehicles to activate factory mode and perform system diagnostics.
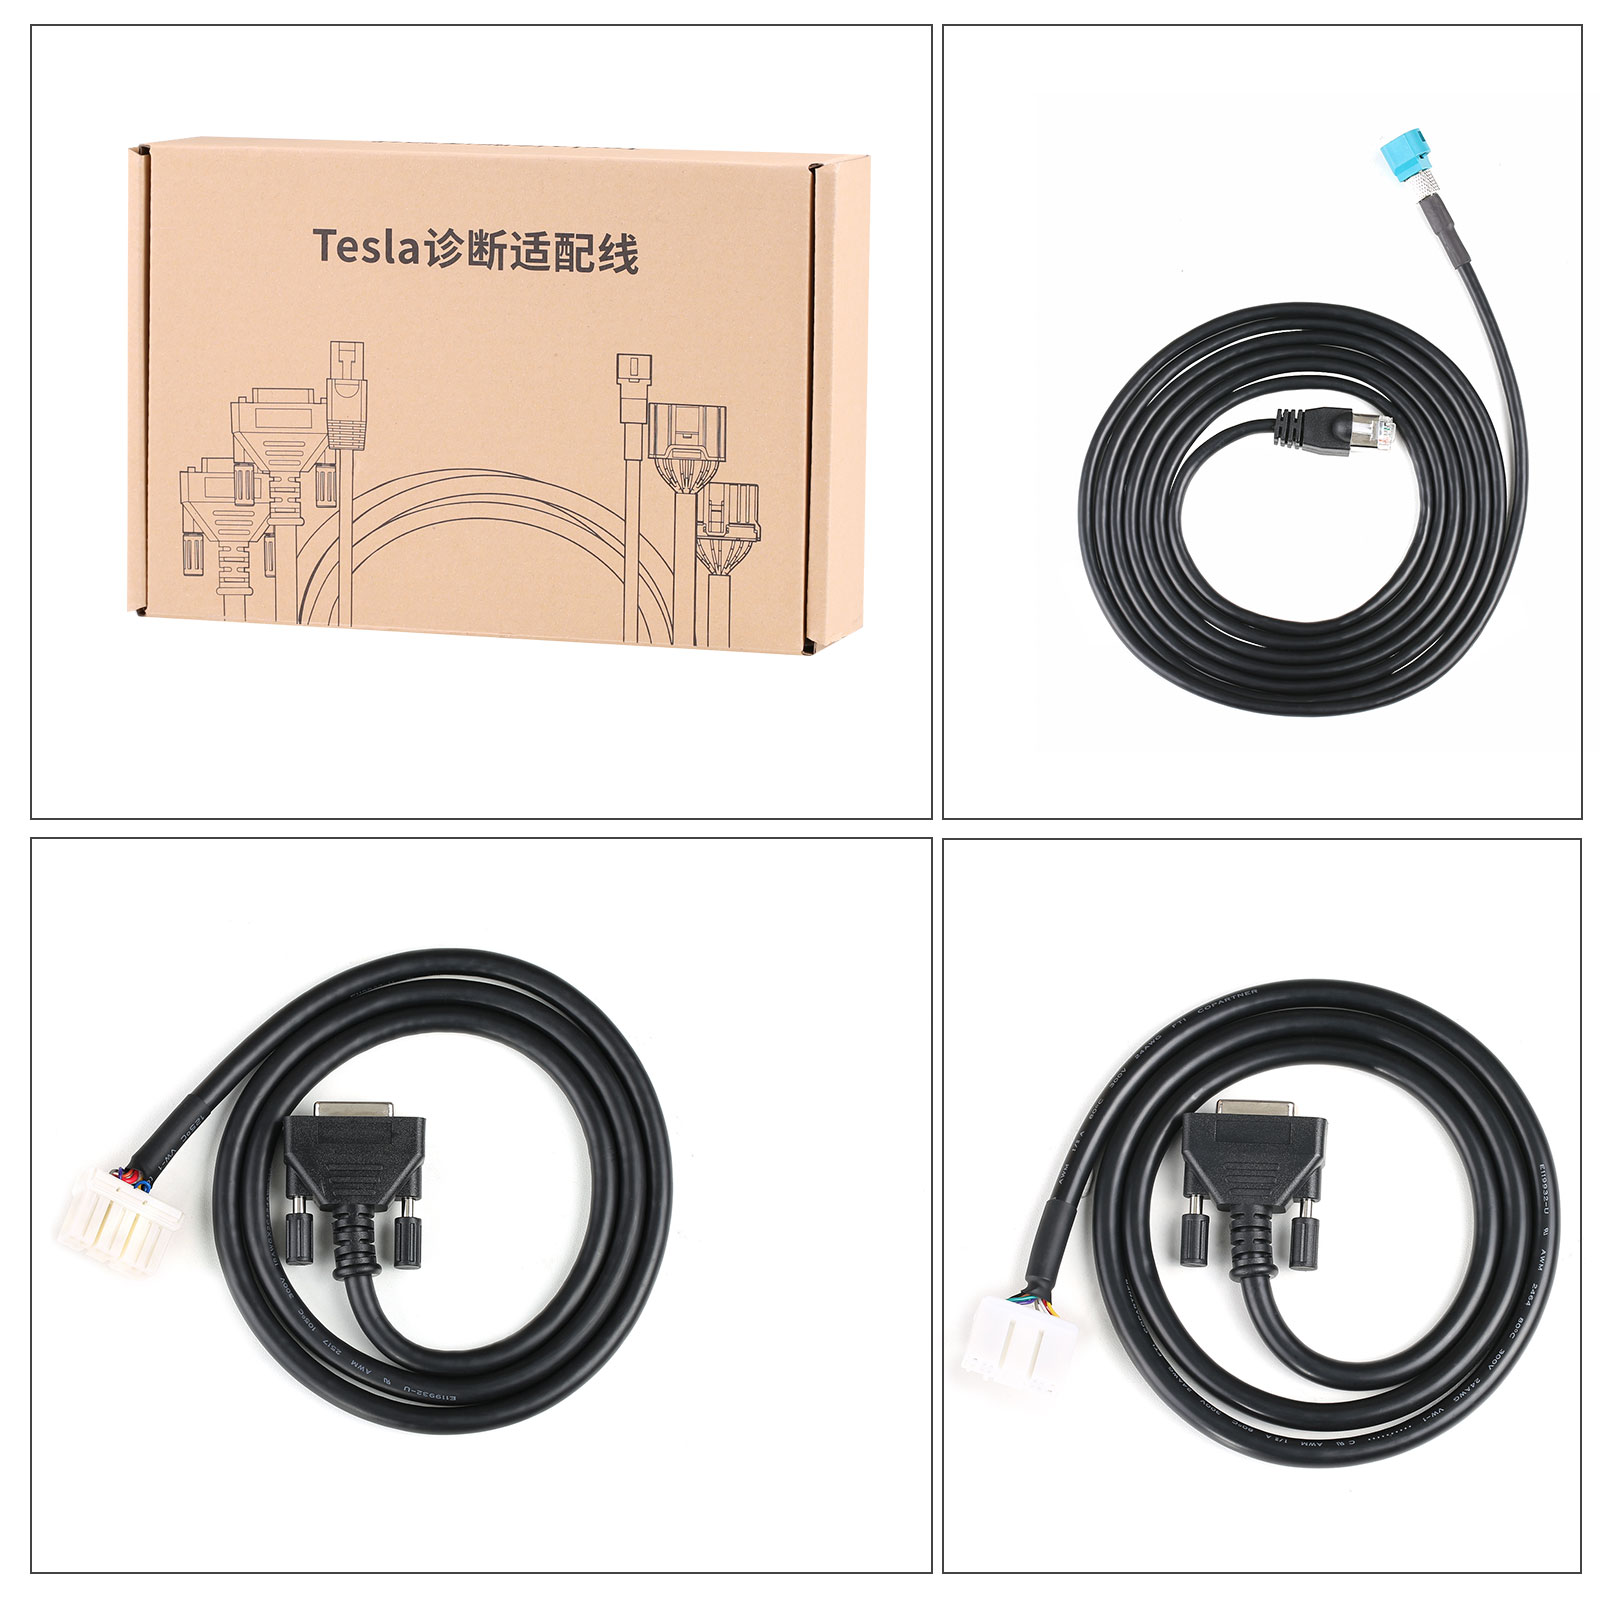
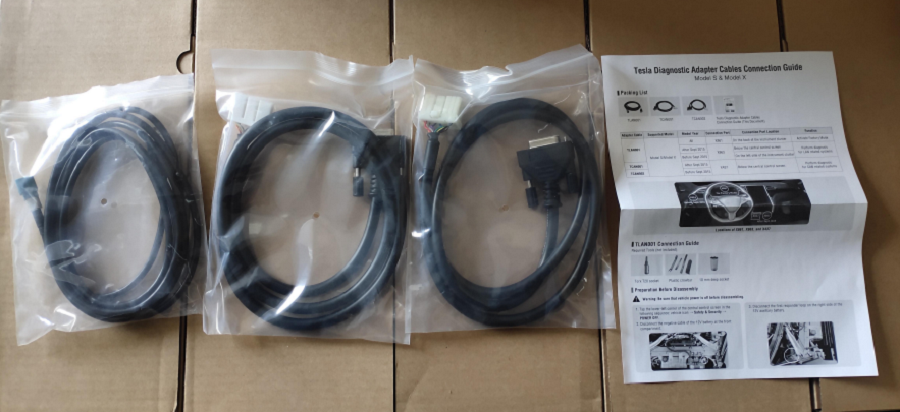
Includes three cables:
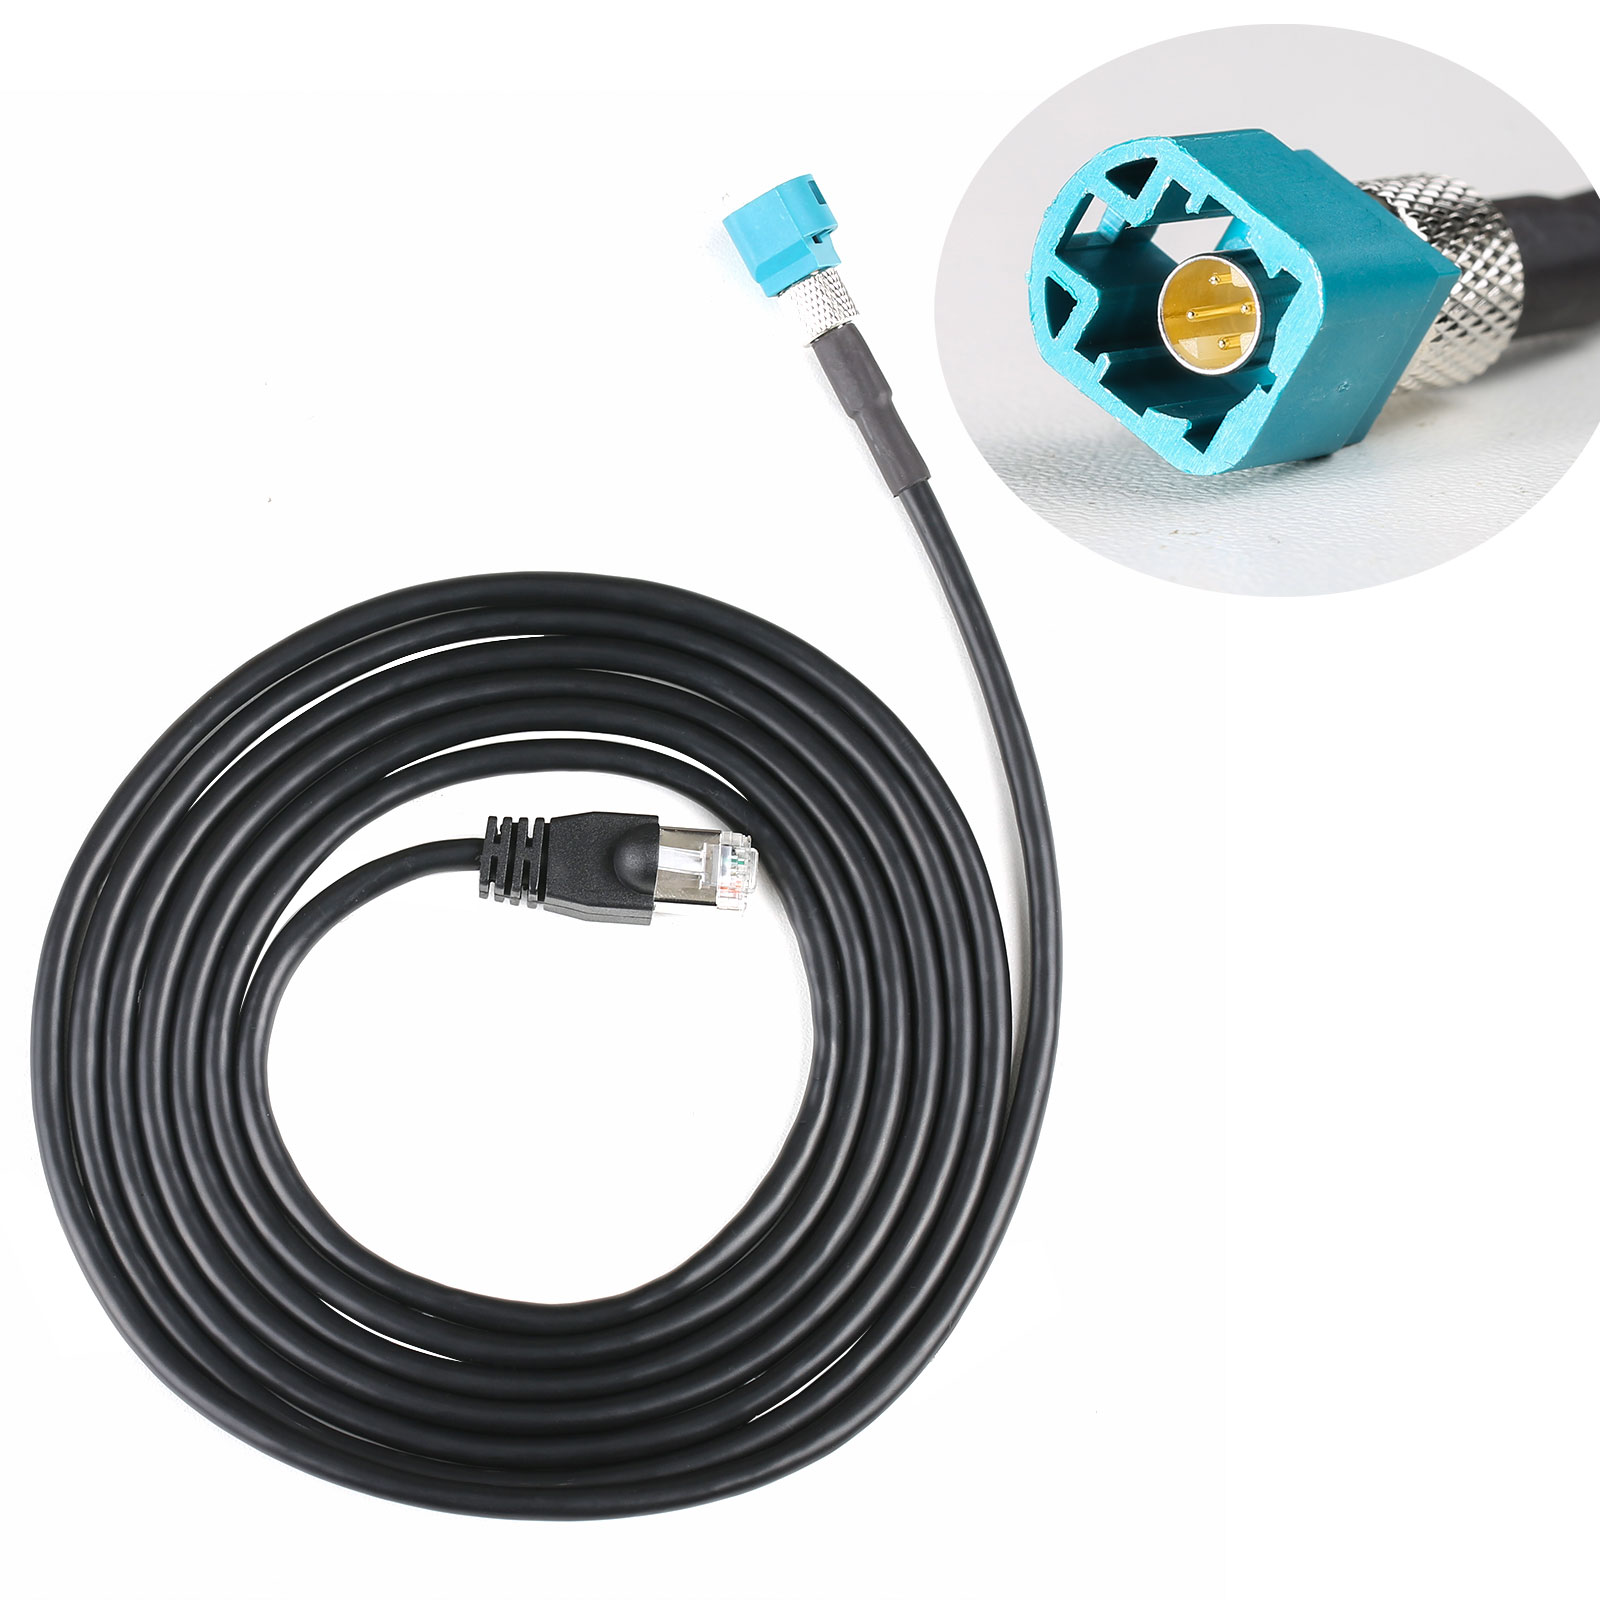
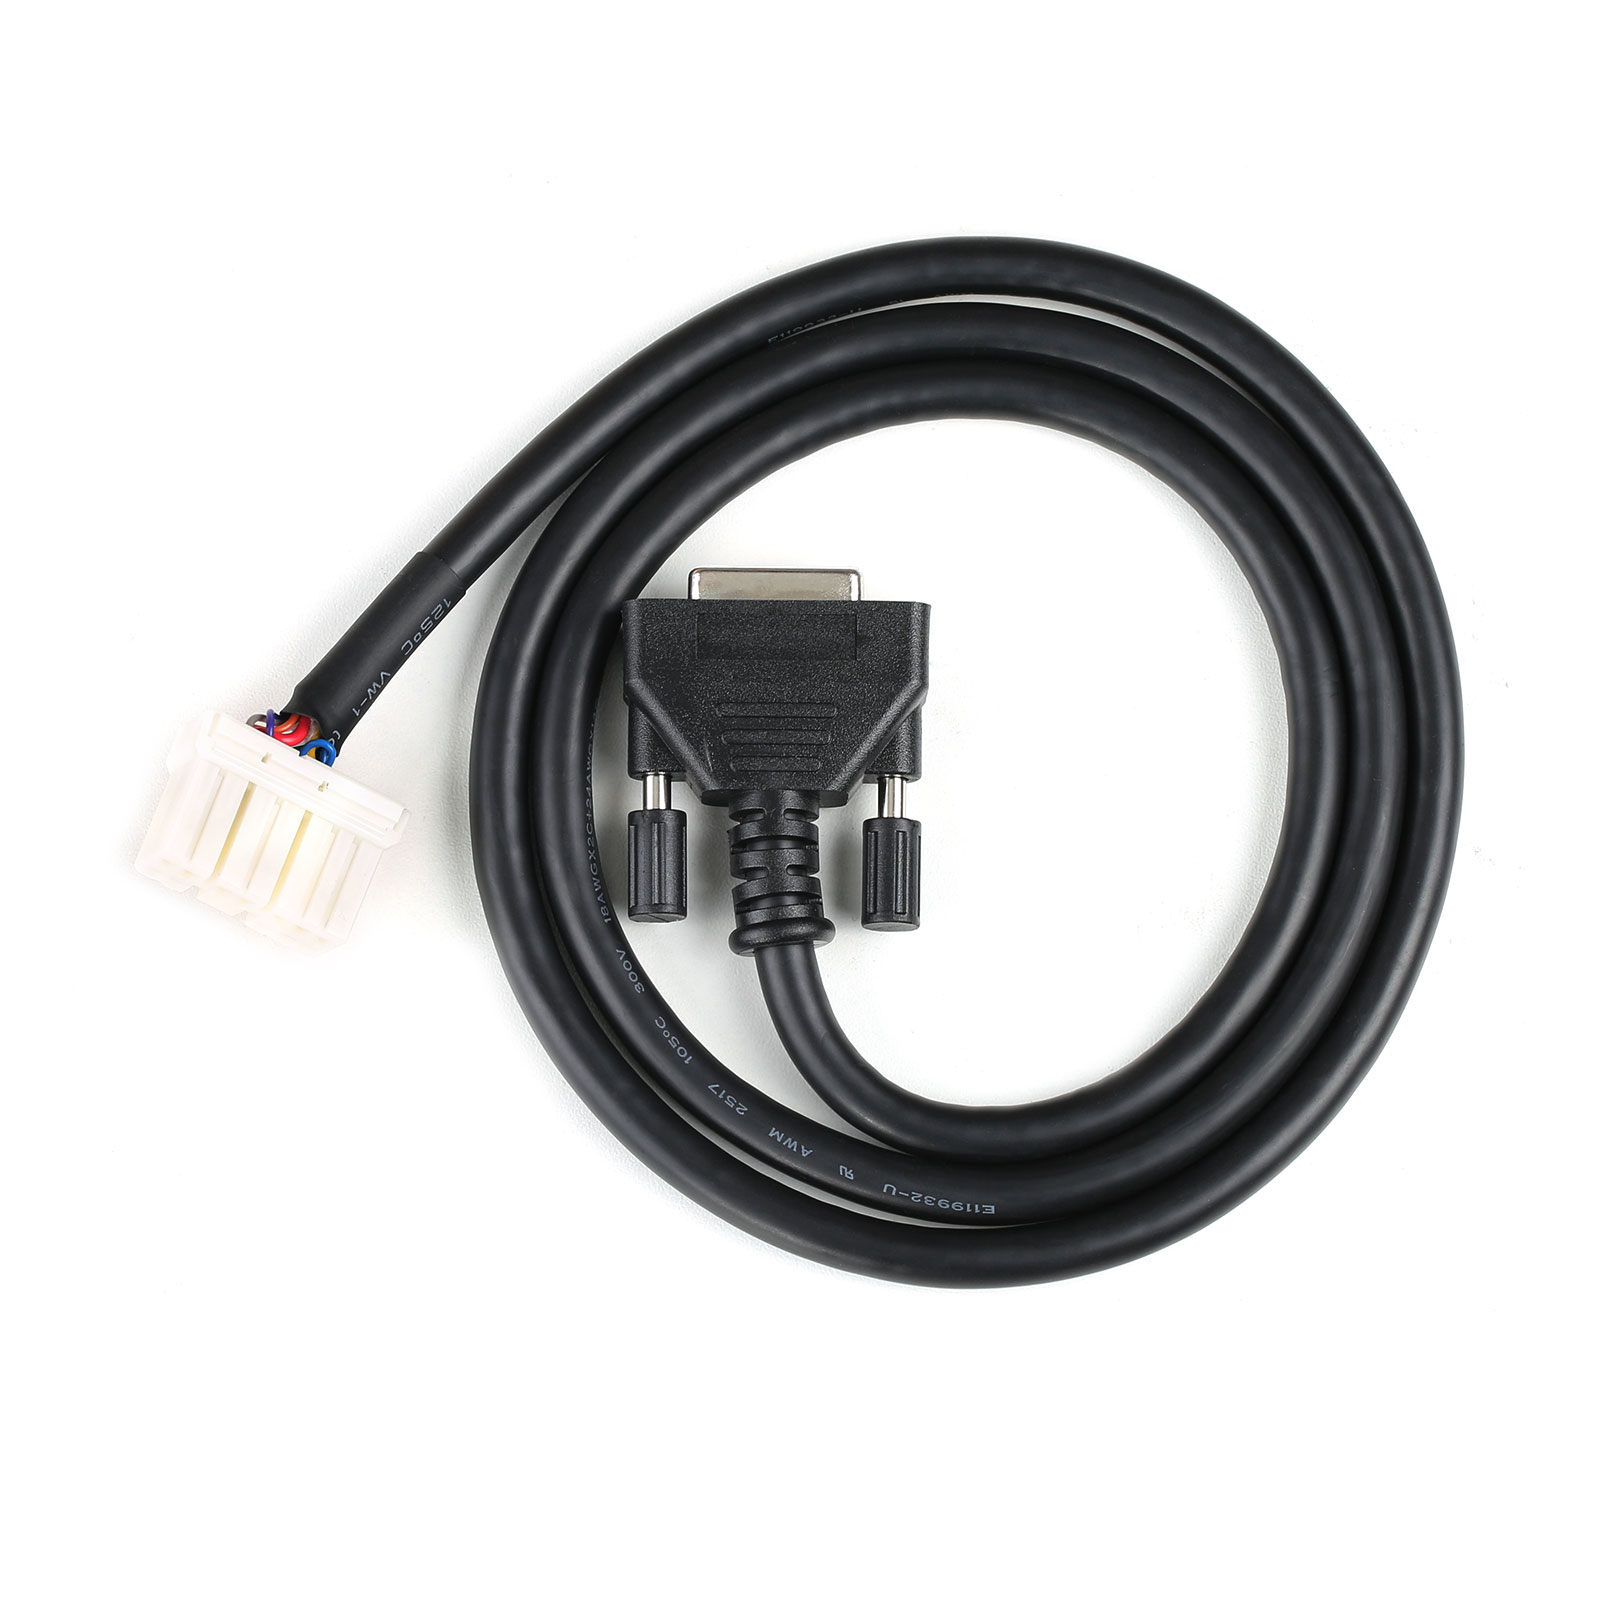
LAN001
- Connects to Tesla port X861 (located behind the instrument cluster) to activate factory mode (instrument cluster must be disassembled)
- Connects to Tesla port X863 (located below the central control screen) for diagnostics of post-2015/Sept vehicles.
- Connects to Tesla port X863 (located to the left of the instrument cluster) for diagnostics pre-2015/Sept vehicles.
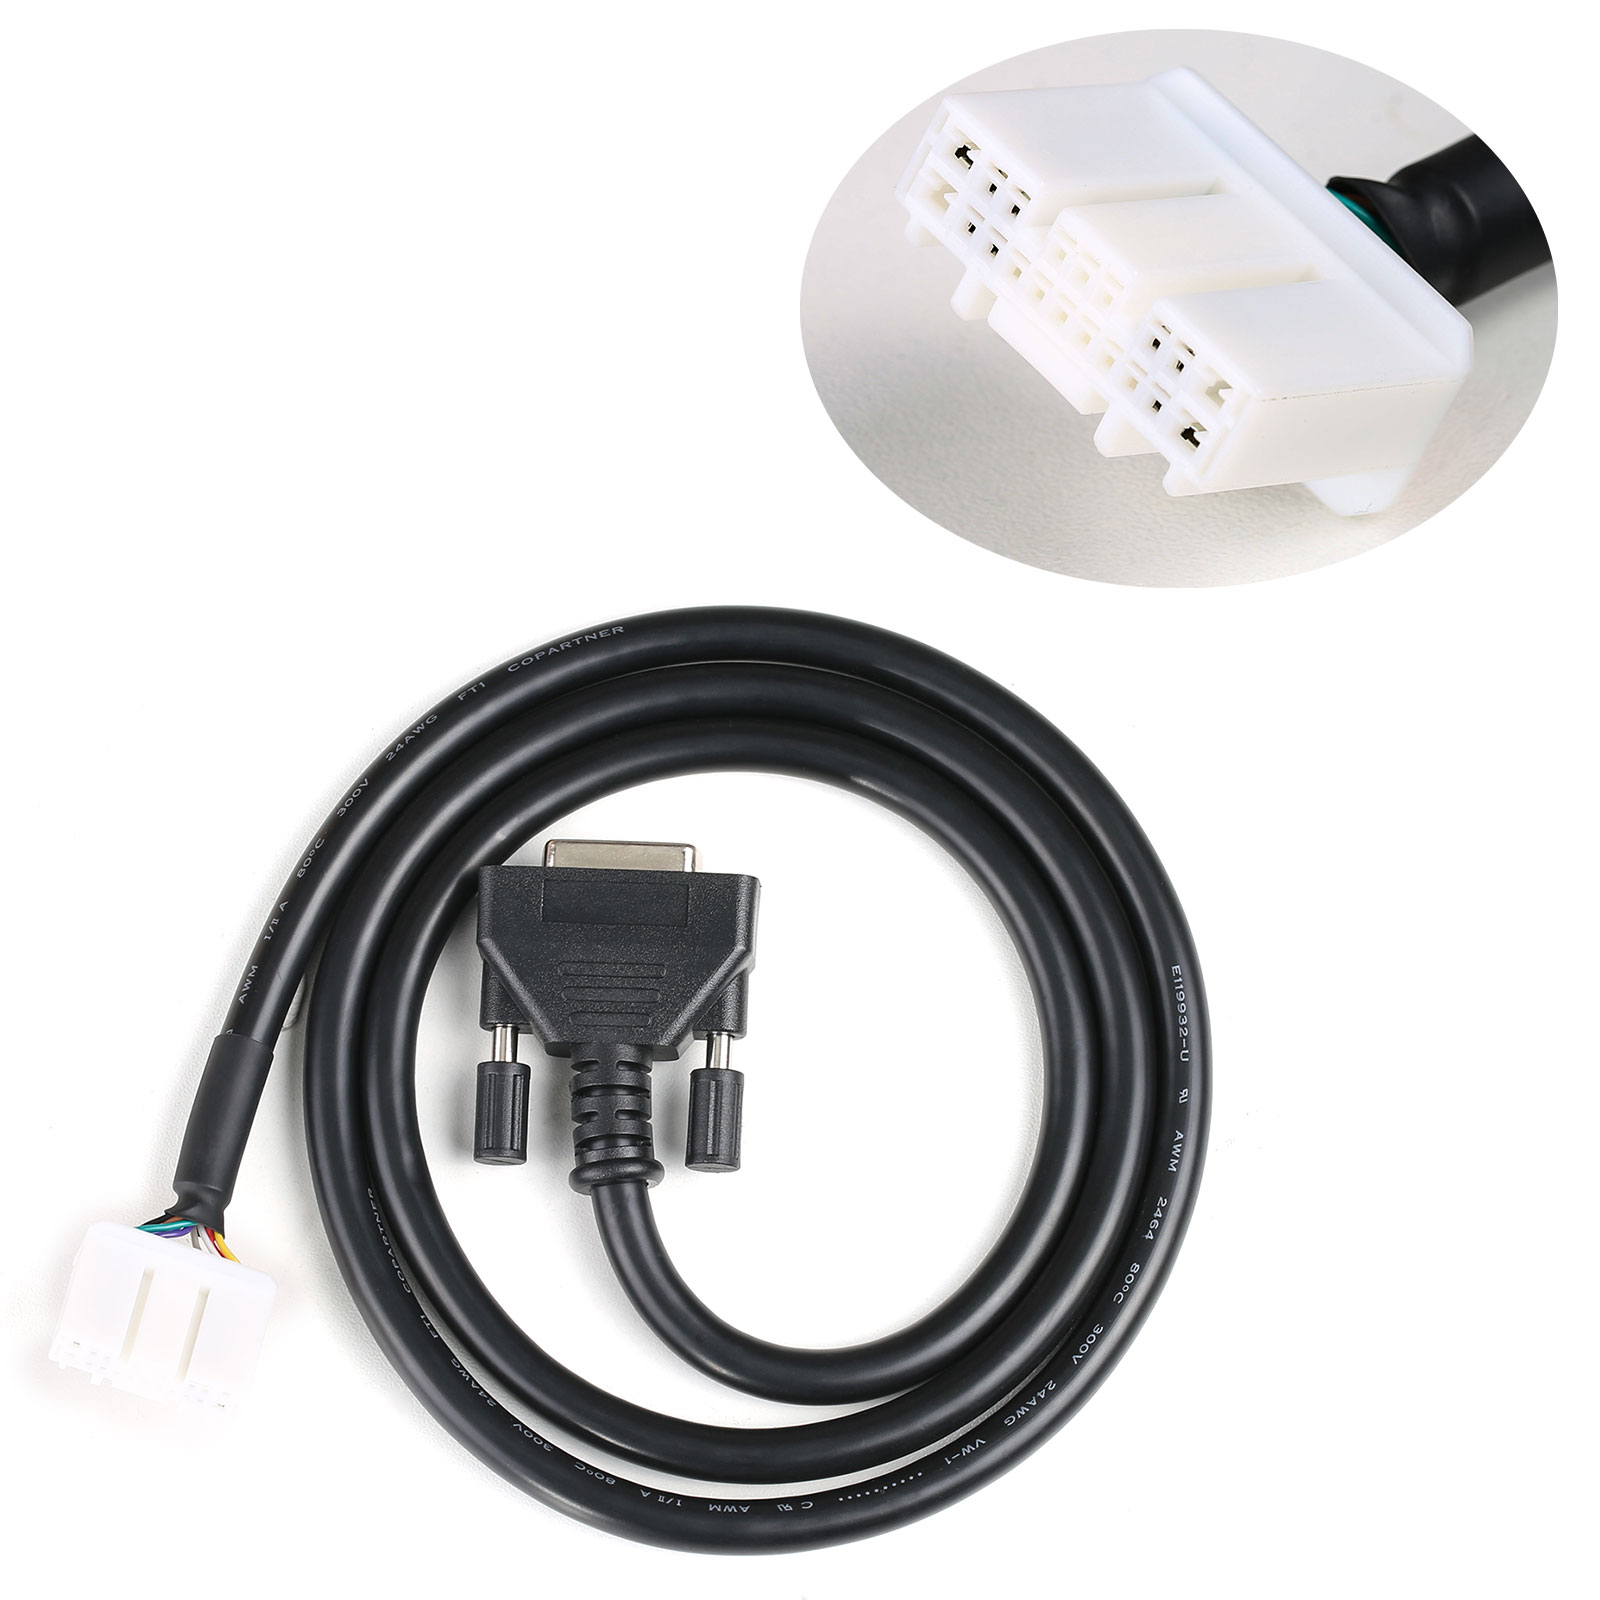
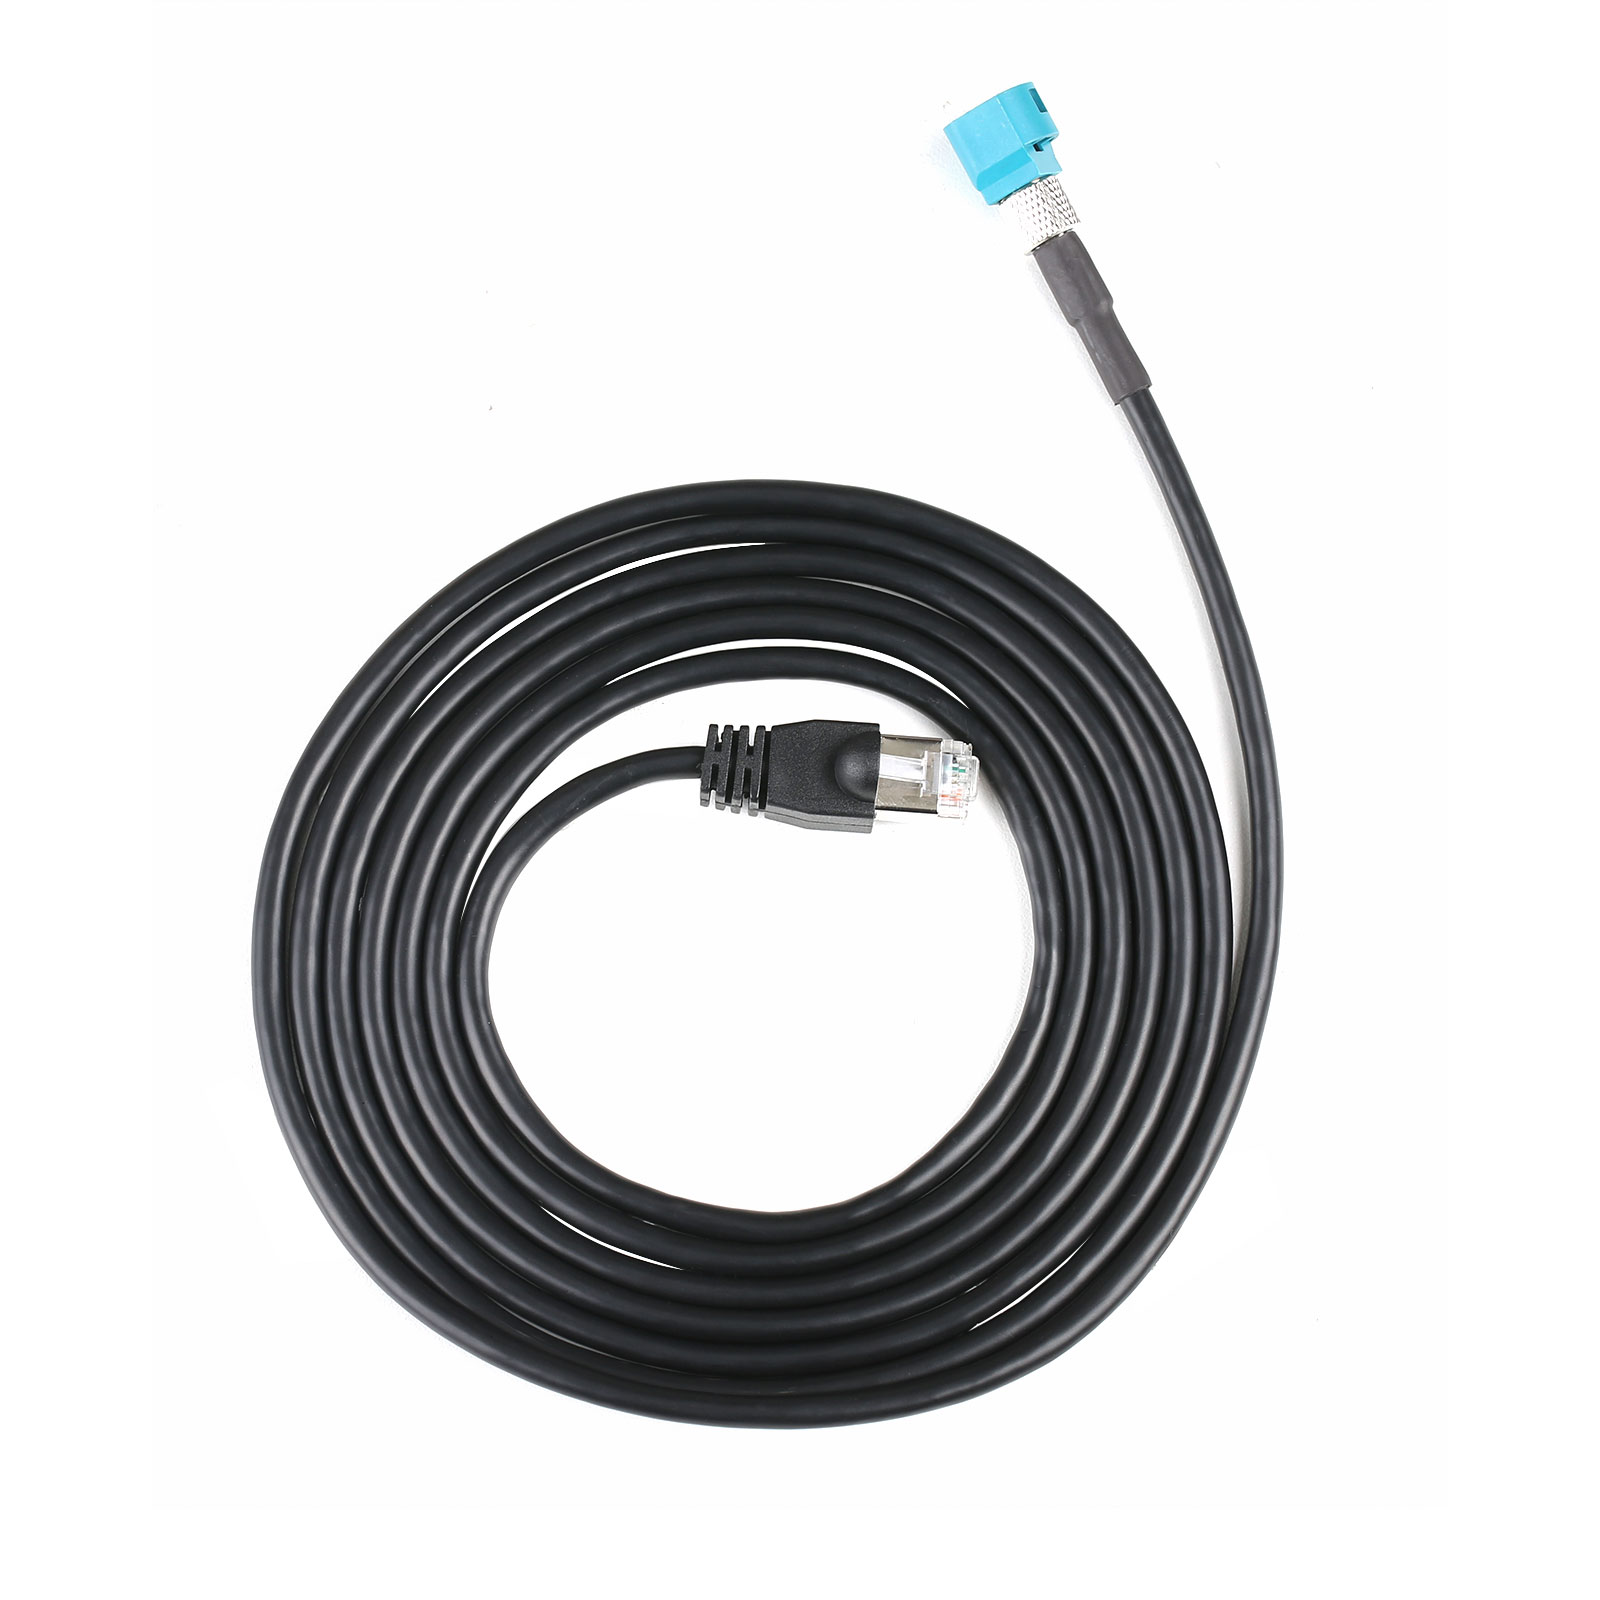
CAN001
- Connects to Tesla port X437 (located below the central control screen) for diagnostics of post-2015/Sept vehicles.
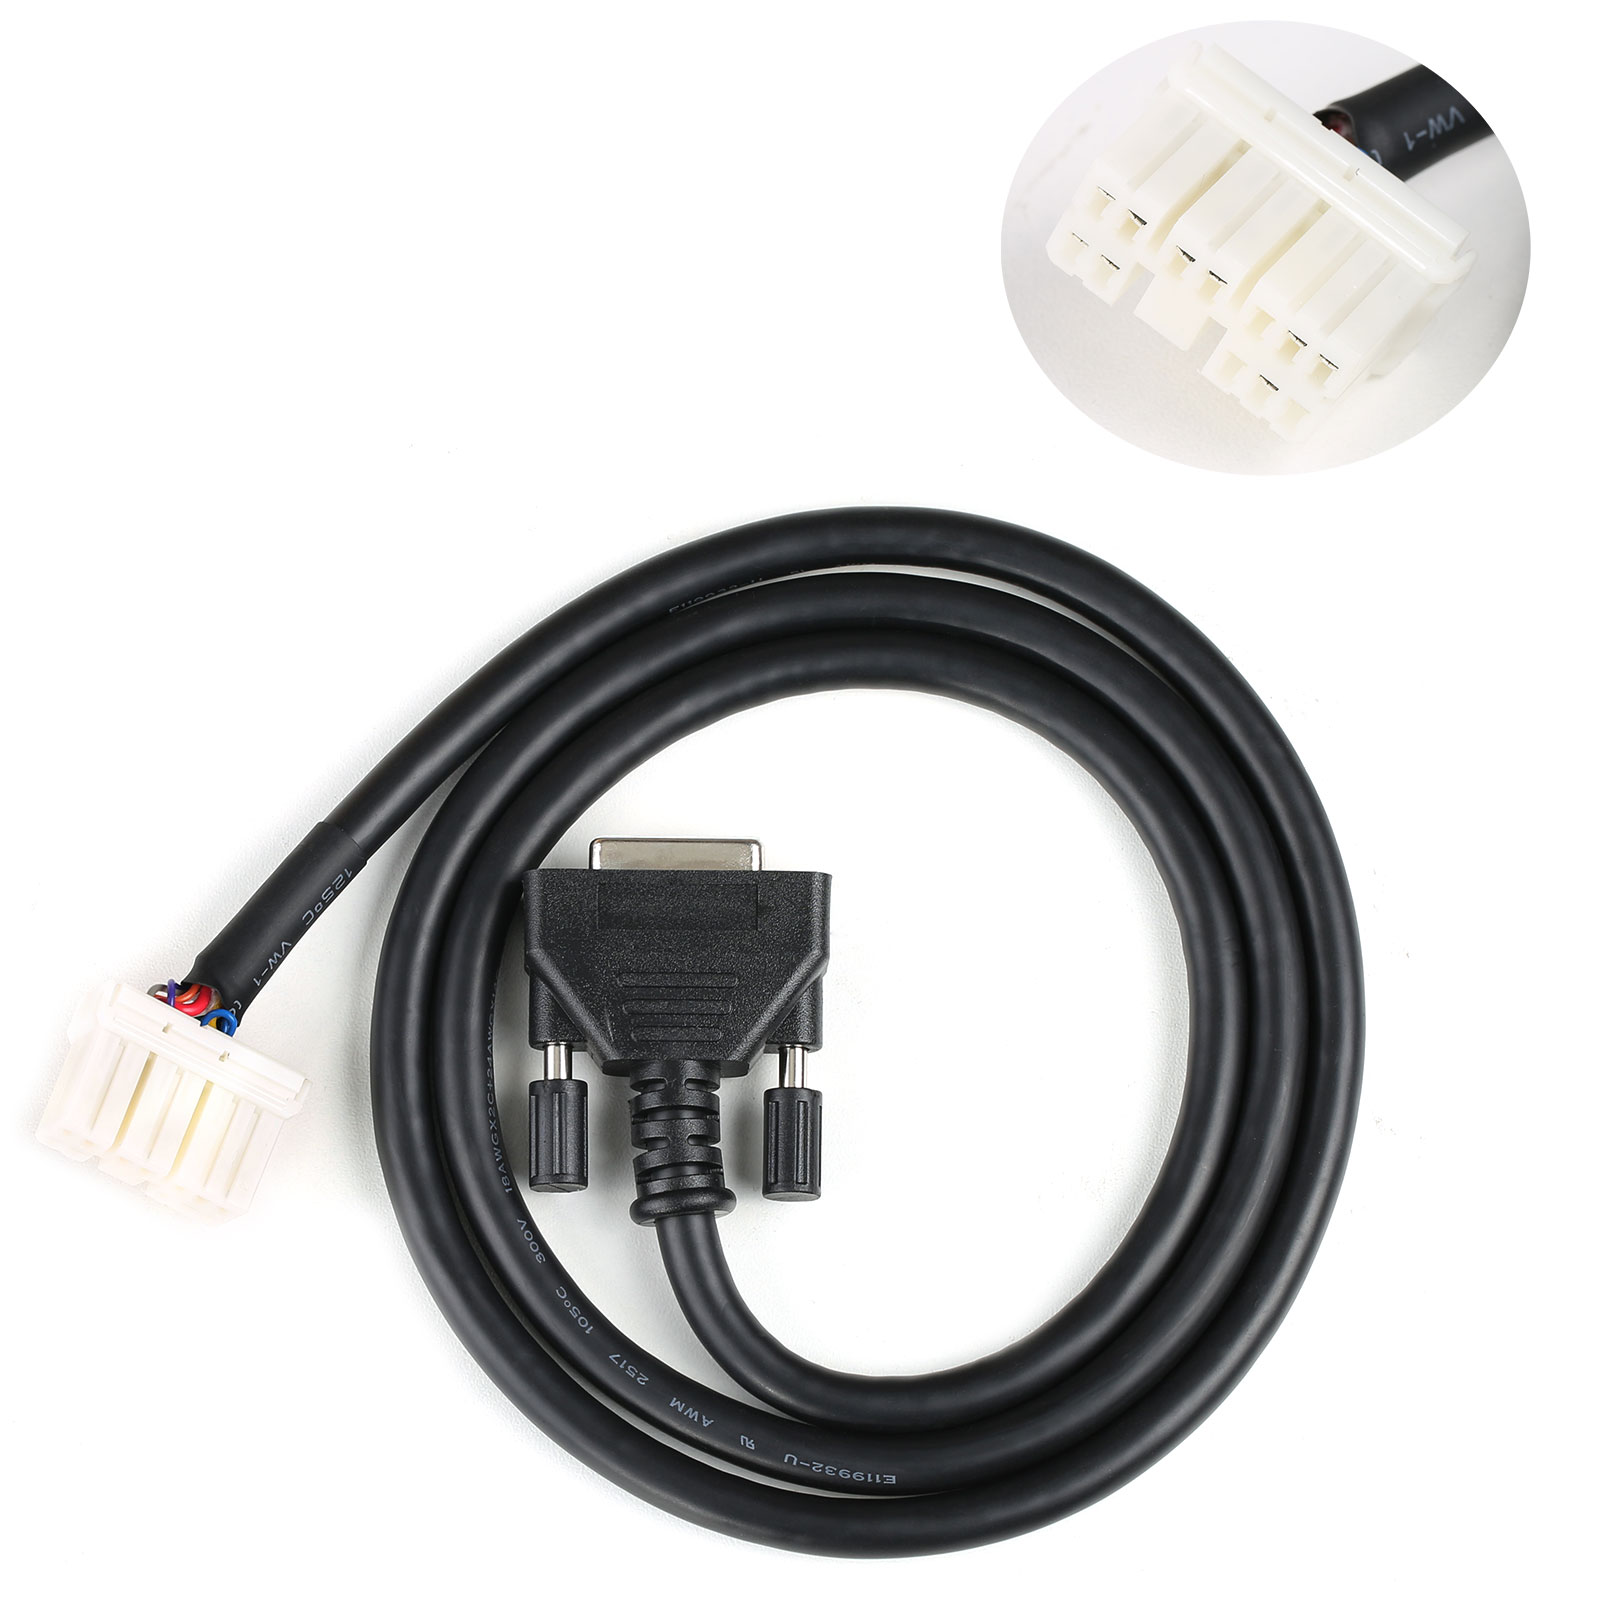
CAN002
- Connects to Tesla port X437 (located below the central control screen) for diagnostics of pre-2015/Sept vehicles.
| Adapter Cable | Image | Supported Model | Model Year | Connection Port | Connection Port Location | Function |
| TLAN001 | 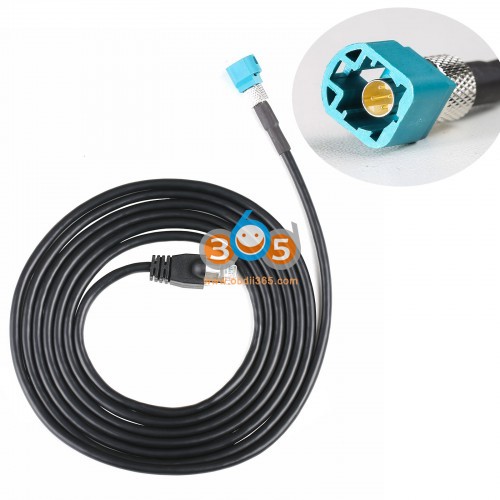 |
ModelS/ Model X | All | X861 | On the back of the instrument cluster | Activate Factory Mode |
| After Sept 2015 | X863 | Below the central control screen | Perform Diagnoses For LAN Related Systems |
|||
| Before Sept 2015 | On the left side of the Instrument Cluster | |||||
| TCAN001 | 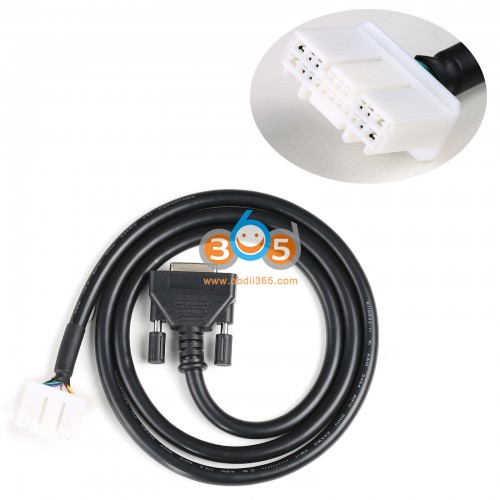 |
After Sept 2015 | X437 | Below the central control screen | Perform Diagnoses For CAN Related Systems |
|
| TCAN002 | 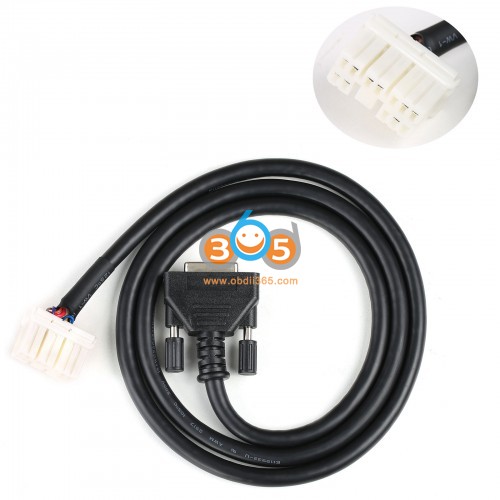 |
Before Sept 2015 |
Major Updates 09.2021:
Tesla: Supports Basic Function including ECU Information, Live Data, Read/ Erase Codes, as well as 41 Hot Special Functions including BMS Reset Alert, BMS Clear Contactor Stress Index, EPB Service Mode, Brake Bleed and Read/Write TPMS Sensor ID for Model X and Model S.
Package Includes:
1pc x TLAN001 cable
1pc x TCAN001 cable
1pc x TCAN002 cable
1pc x Tesla Diagnostic Adapter Cables Connection Guide
SUGGESTION:

We are here for you:
Skype: OBDII365.com
Email: Sales@OBDII365.com

Tech Support
Autel Tesla cable set including:
| Adapter Cable | Image | Supported Model | Model Year | Connection Port | Connection Port Location | Function |
| TLAN001 | |
ModelS/ Model X | All | X861 | On the back of the instrument cluster | Activate Factory Mode |
| After Sept 2015 | X863 | Below the central control screen | Perform Diagnoses For LAN Related Systems |
|||
| Before Sept 2015 | On the left side of the Instrument Cluster | |||||
| TCAN001 | |
After Sept 2015 | X437 | Below the central control screen | Perform Diagnoses For CAN Related Systems |
|
| TCAN002 | |
Before Sept 2015 |
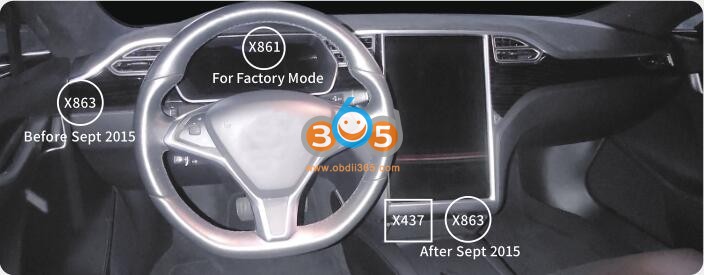
Location of X861, X863, and X437
How to Connect Autel Tesla TLAN001 Cable?
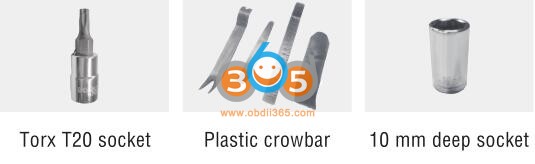
Required Tools (not included)
Preparation before Disassembly
*Ensure power is off before vehicle’s disassembly
1.Tap the lower-left corner of the central control screen in the following sequence: vehicle icon>> Safety & Security>>POWER OFF
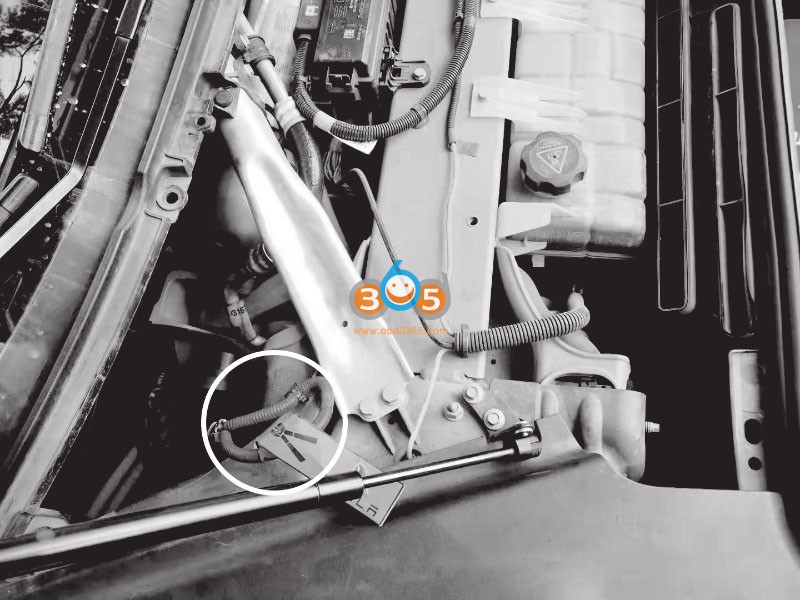
2.Disconnect the negative cable of the 12V battery at the front compartment
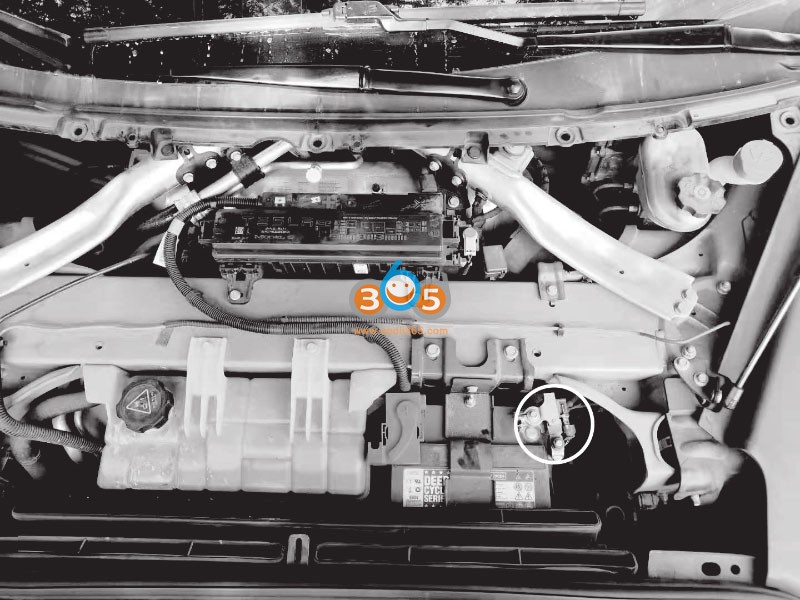
3.Disconnect the first responder loop on the right side of the 12V auxiliary battery
Disassembly Steps
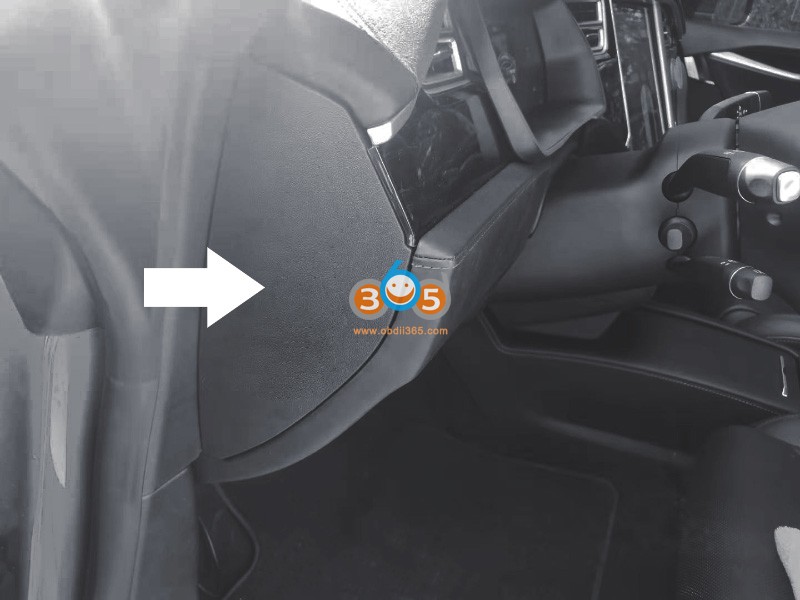
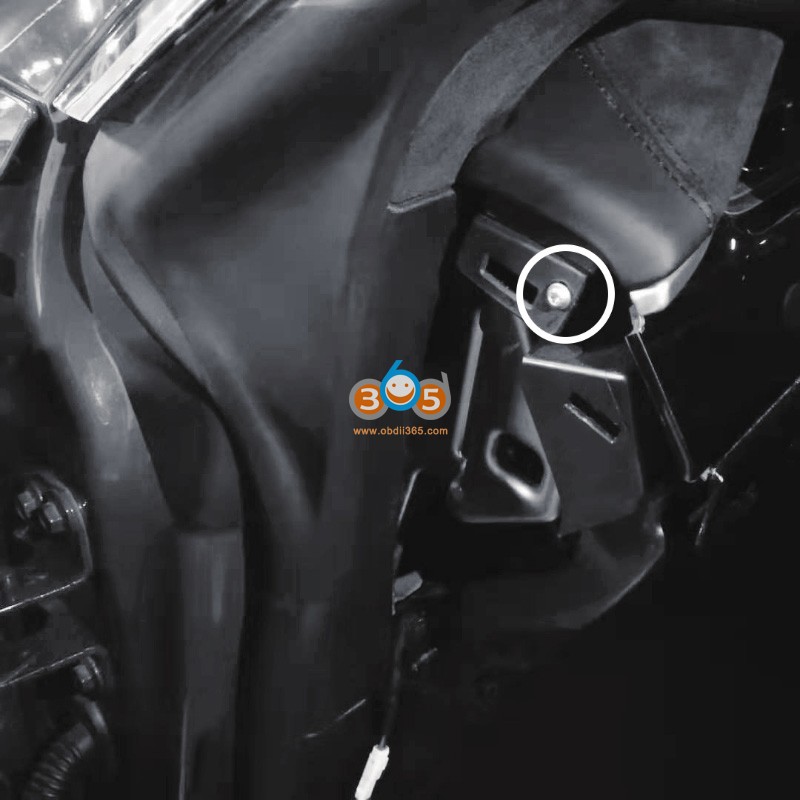
1.Remove the side cover of the instrument panel from the vehicle, and then remove the screws behind the side cover.
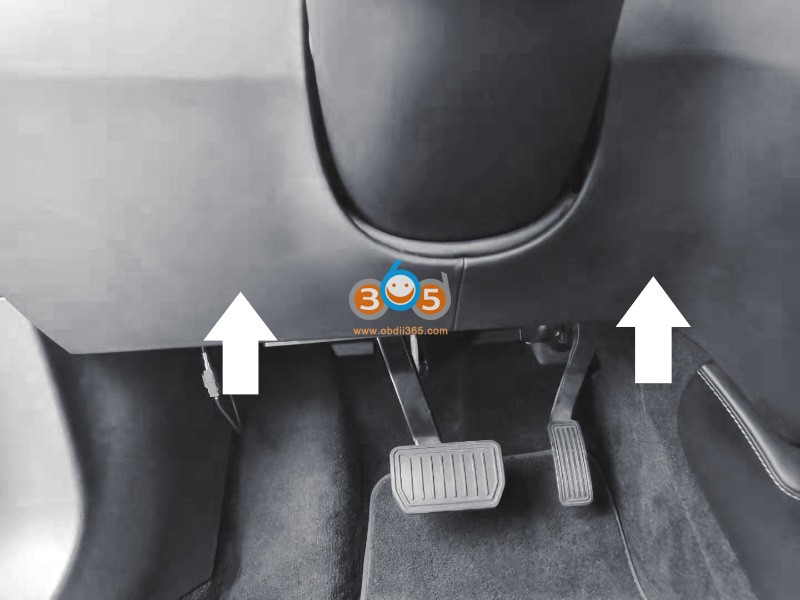
2.Remove the lower dash trim from the vehicle.
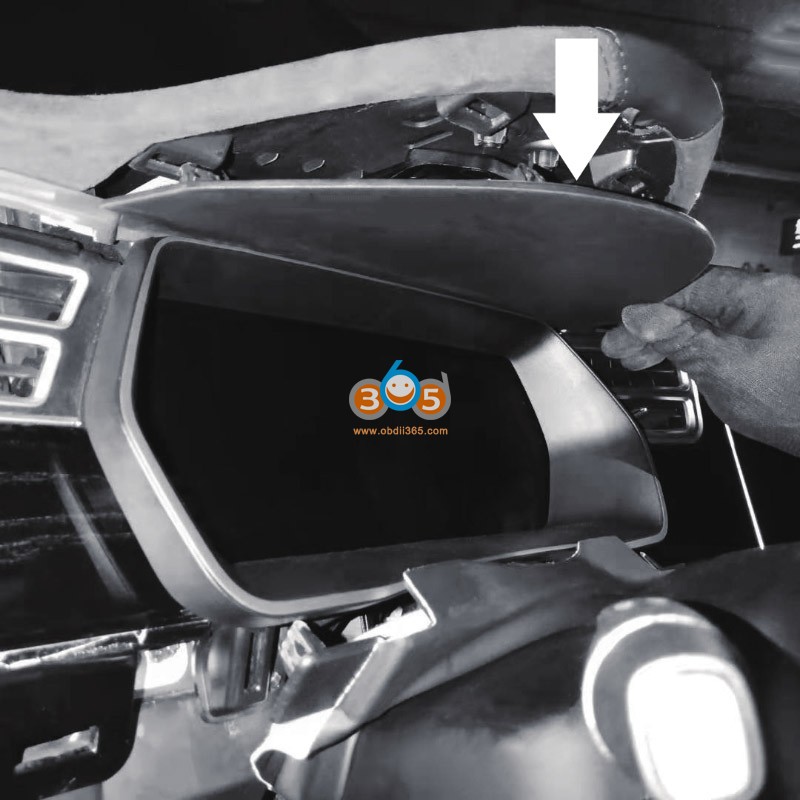
3.Remove the gasket on the top of the instrument cluster.
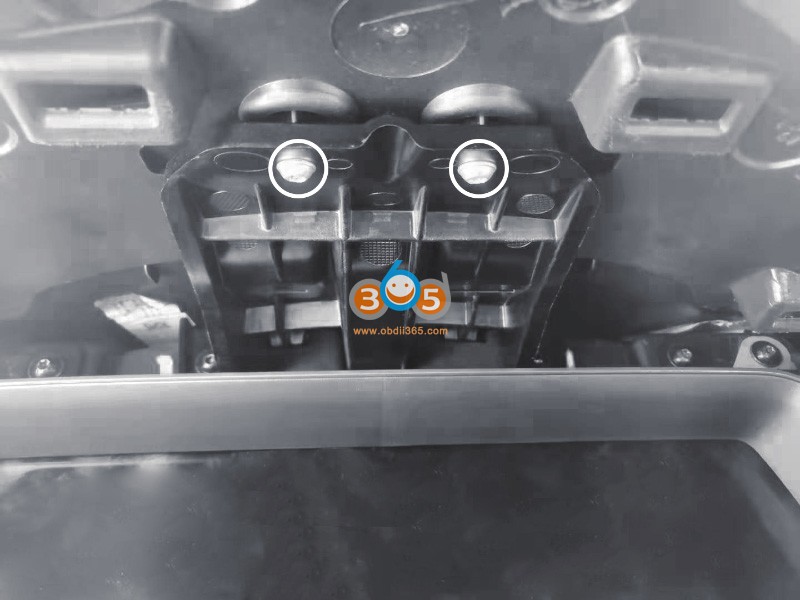
4.Remove the fixing screws (2 pcs) between the top pad and the instrument panel carrier (torque 1.2 Nm).
5.Release the fixing clips (2 pcs) between the steering column cover and the instrument cluster frame.
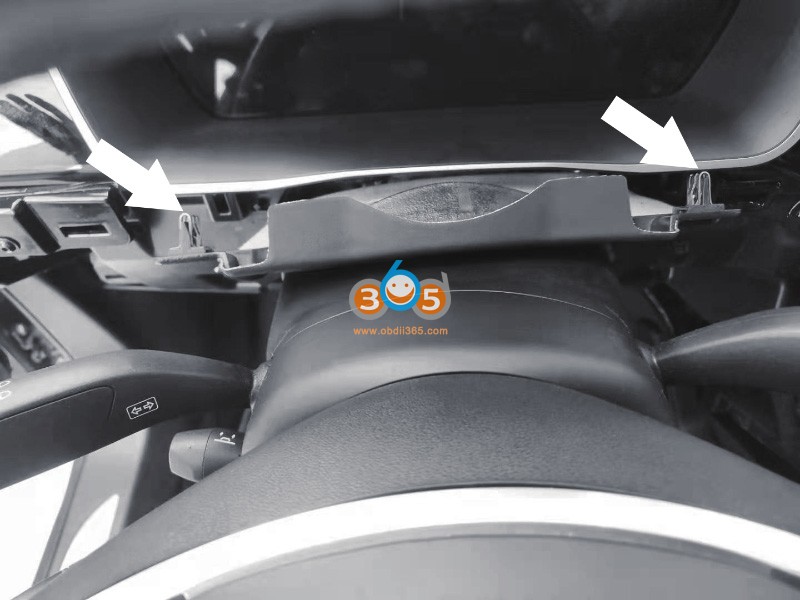
6.Remove the instrument cluster frame from the vehicle.

7.Remove both the outer face-level vent and the inner face-level vent from the vehicle dash.
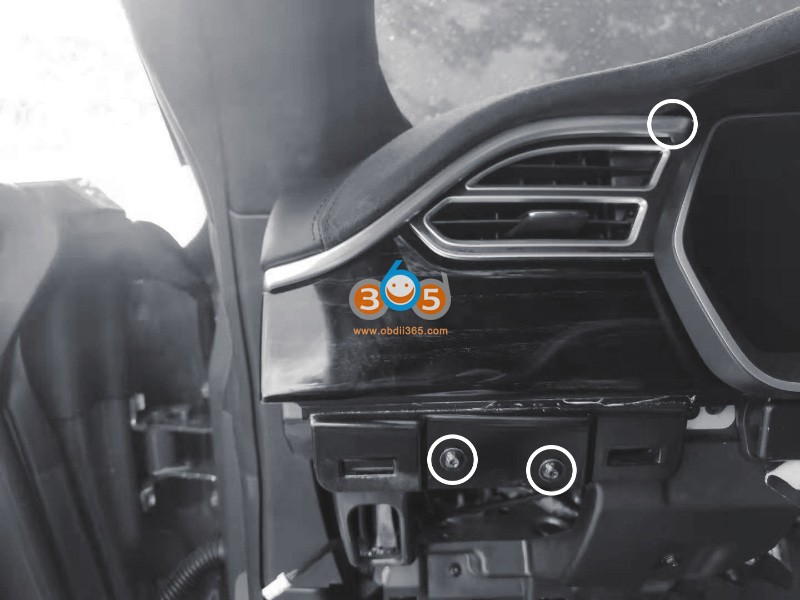

8.Remove the instrument cluster from the instrument panel carrier to check the harness connection.
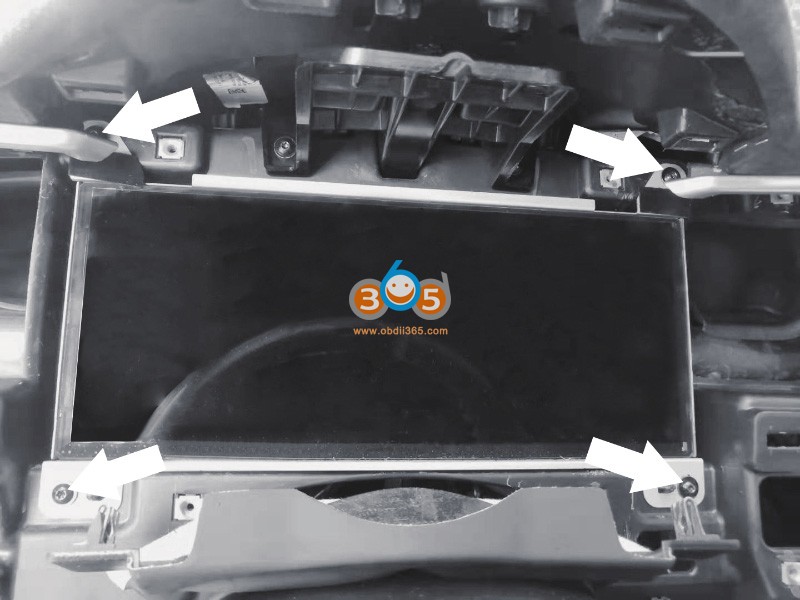
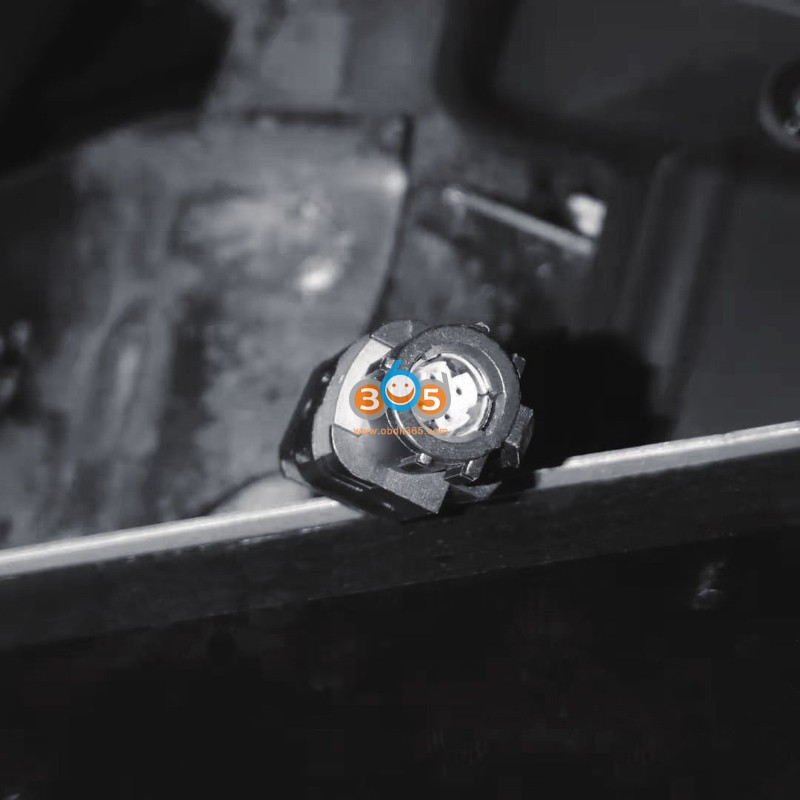
9.Disconnect the x861 from the backside of the instrument cluster.
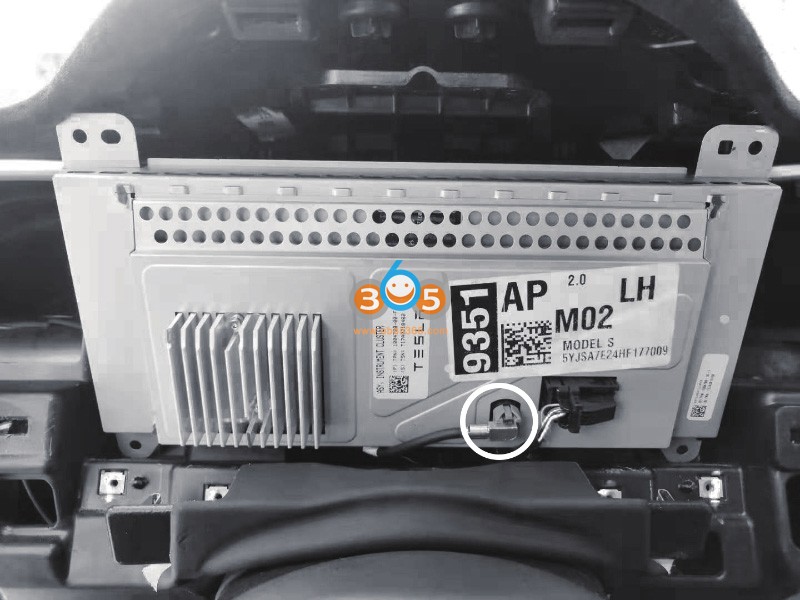
10.Connect the diagnostic cable TLAN001 to the instrument cluster connector X861.